XO3D Studio · 3D Rendering
3D Furniture Rendering: Uses, Process and Range Economics
Every range, every finish, one source.
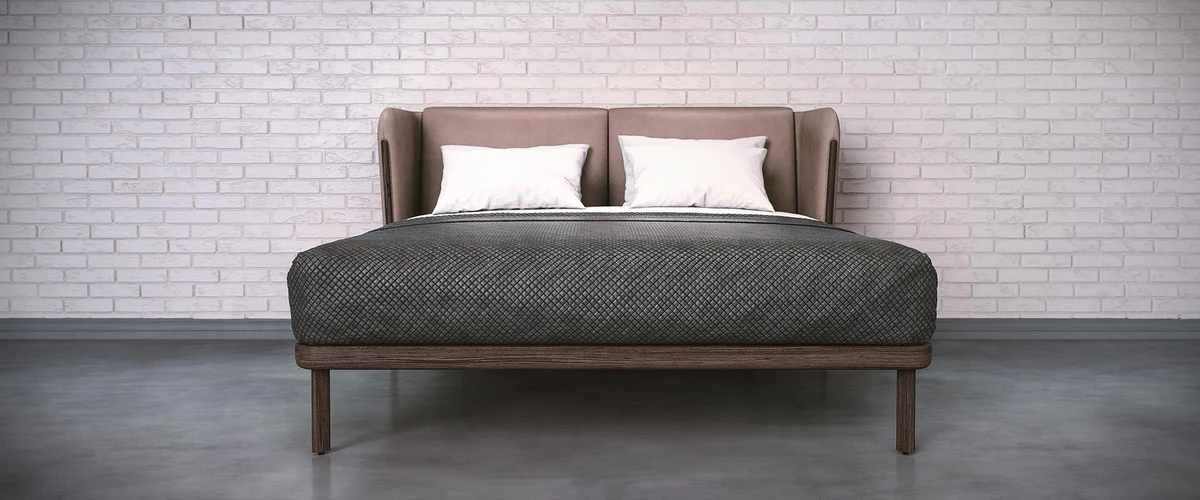
3D furniture rendering gives brands a photo studio that never closes and never runs out of samples. Every silhouette, every fabric variant, every environment, all rendered from one 3D asset at brand-controlled quality.
Why furniture rendering
Range coverage without a photo shoot per SKU.
A furniture range needs consistent dimensions, materials and presentation. CGI can support planned variants and settings where the source asset is suitable, with review for each new use.
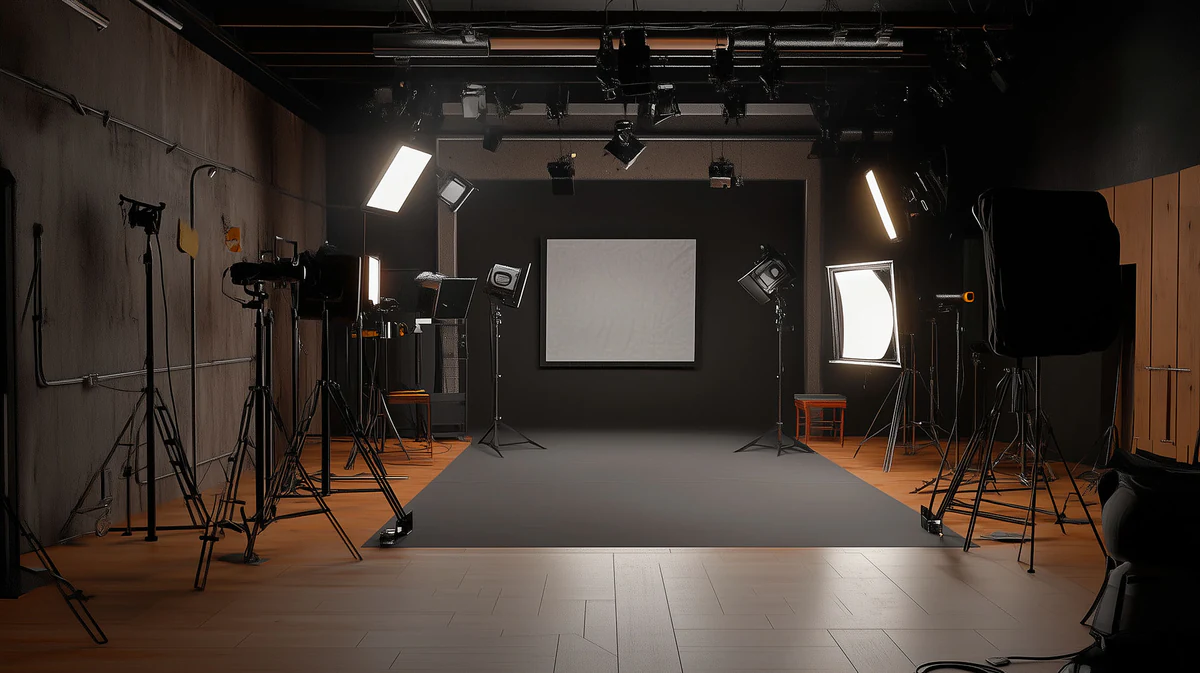
The commercial case is clear. One 3D asset, one directed lighting rig, one environment library, and endless output for hero campaign, PDP, retail, print and configurator.
What's covered
The main varieties, in detail.
Advantages
Why brands commission it.
Endless variants from one build.
Every fabric, colour, size and configuration is a click. No reshoot per SKU.
Restage without a location.
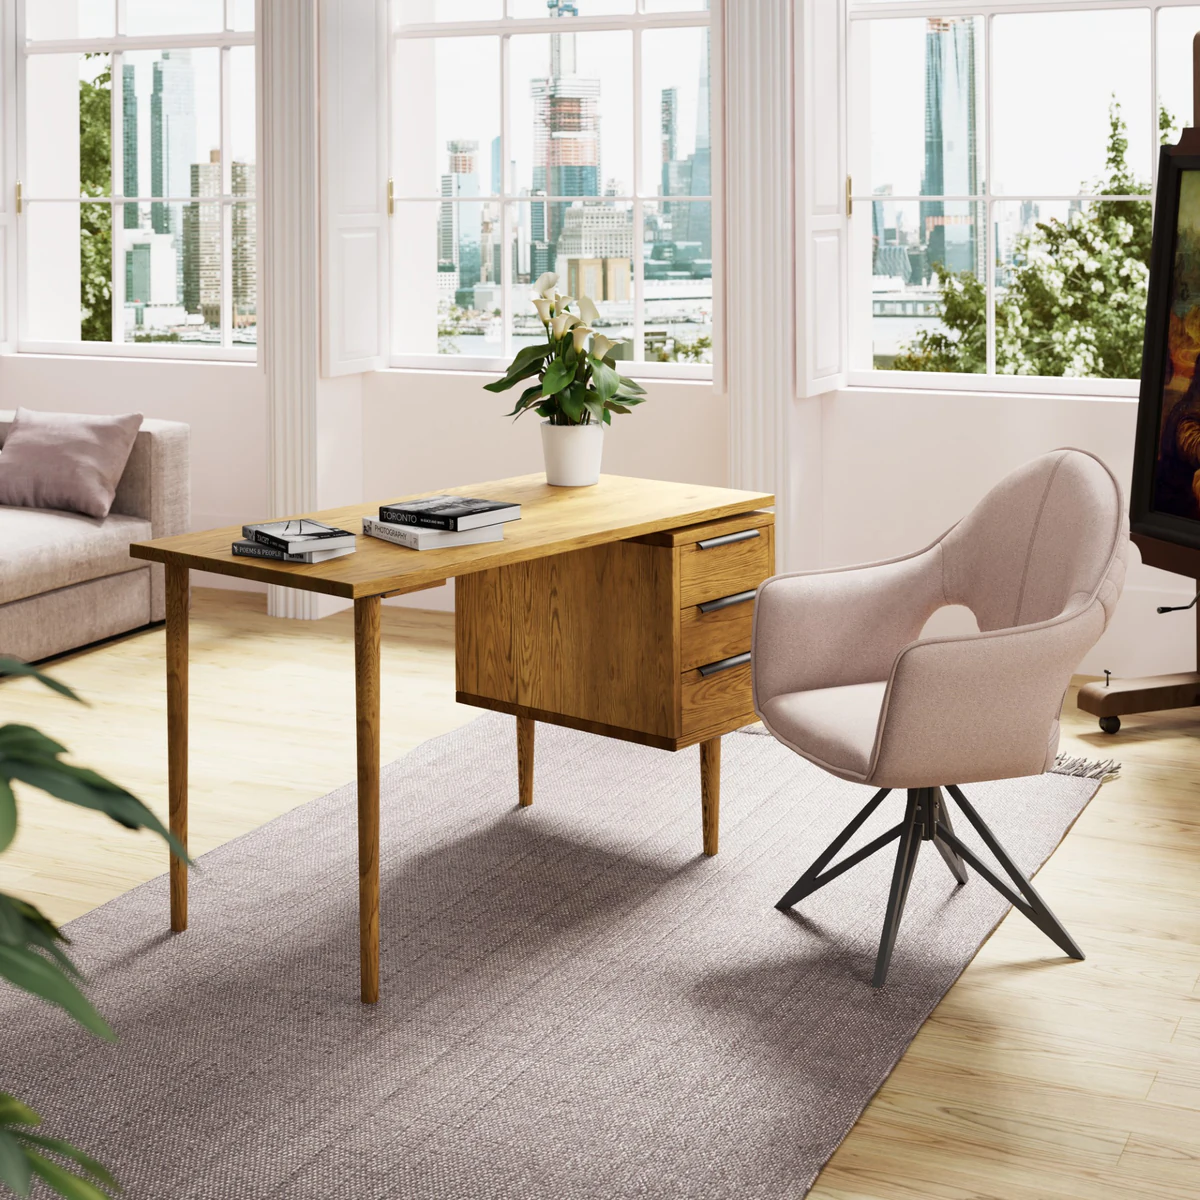
Interior context is modelled. Change the room, keep the piece. Change the piece, keep the room.
Brand control across the range.
Every SKU rendered at the same light, camera and colour. Range grids look like they came from one shoot, because they did.
Configurator-ready by default.
The same asset feeds live configurators, giving buyers direct control over material, size and finish.
AR-ready at export.
Same source produces GLB and USDZ for in-space AR previews on iOS and Android, no separate build.
Trade-offs
What to plan for.
Fabric realism takes care.
Boucle, velvet, linen and leather all require careful material and light setup. Not a swap-and-render operation.
First render is the most expensive.
Agree the asset preparation and intended outputs at the start. A single still and a range of film, stills and interactive views are different production briefs.
Interior context needs modelling.
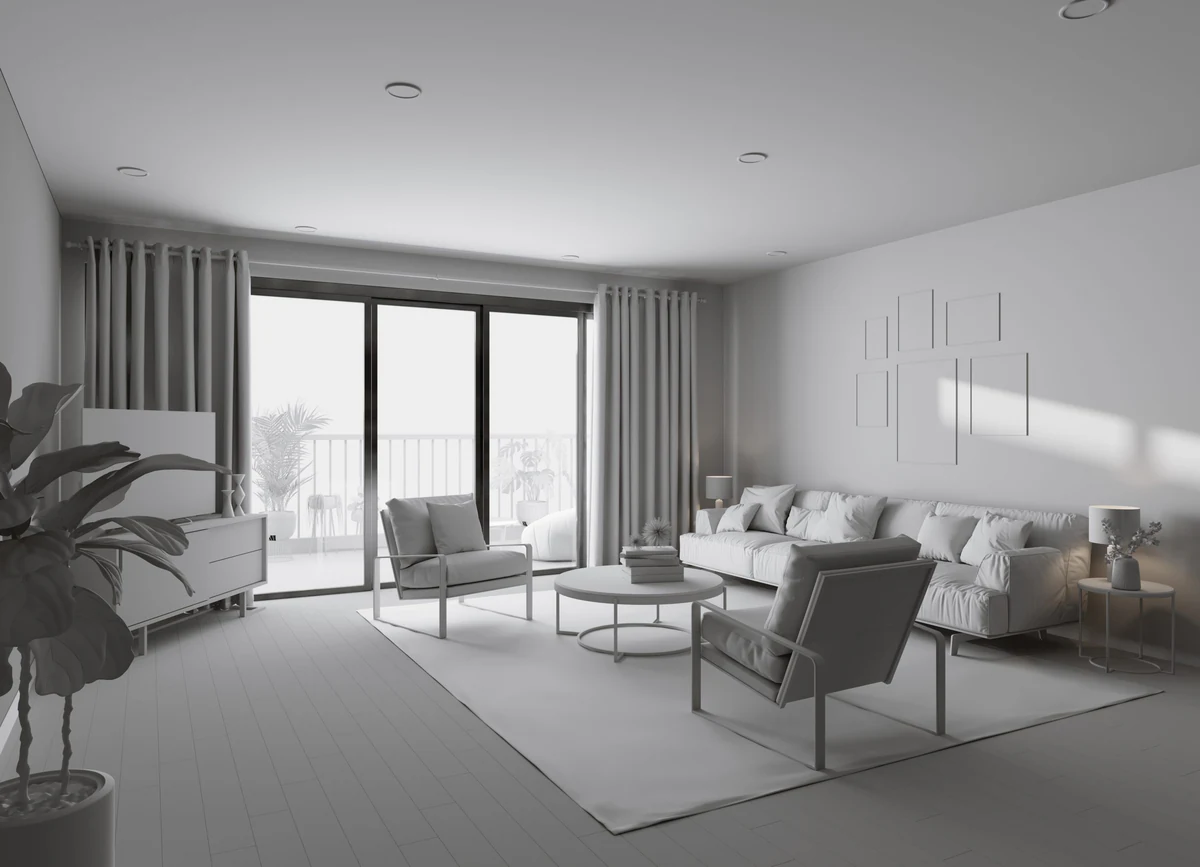
Room-set rendering needs a modelled interior. Reusable across the range but a real up-front build.
Some campaigns still lean live-action.
Heritage, worn, lived-in and editorial furniture campaigns still benefit from photography. CGI is not always the fastest route.
Interactive experiences
Beyond the still image.
Range grids
Every silhouette, every finish.
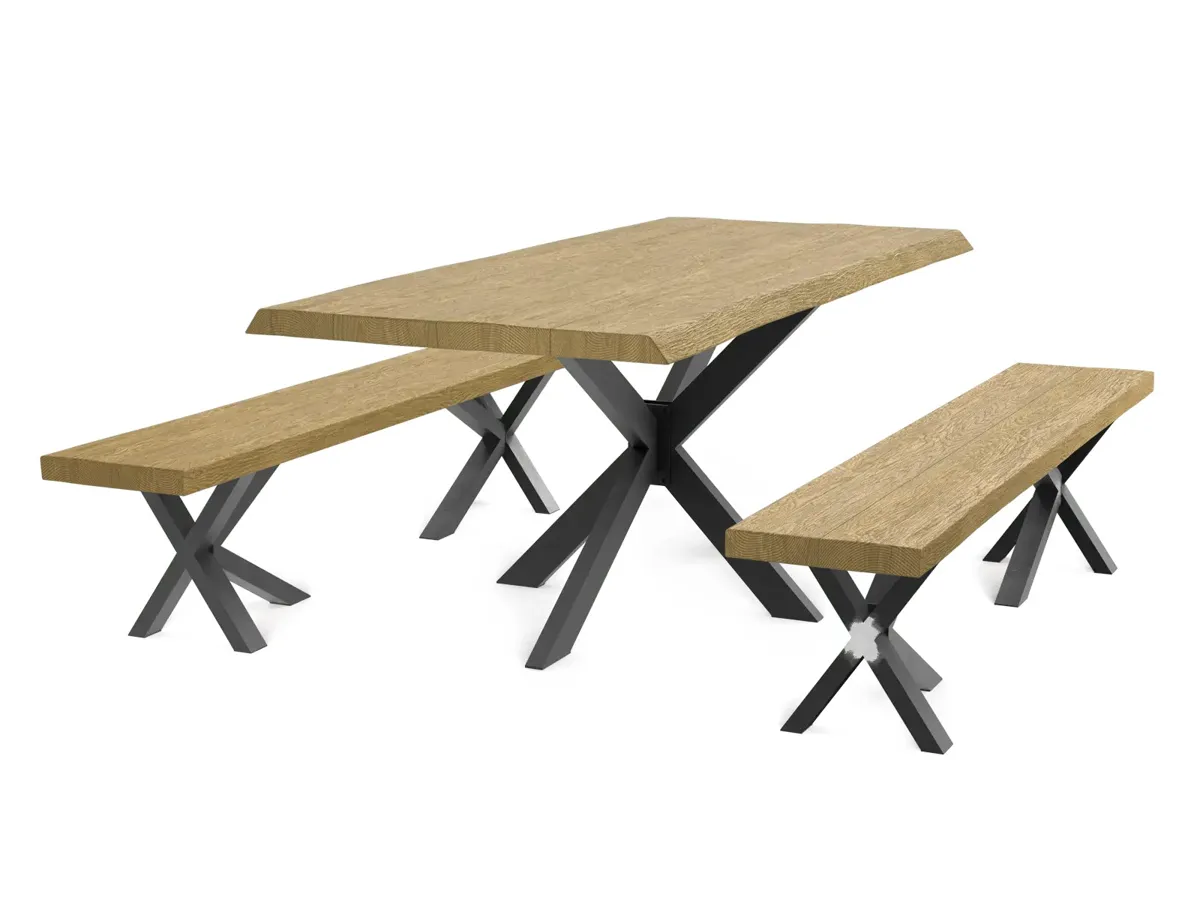
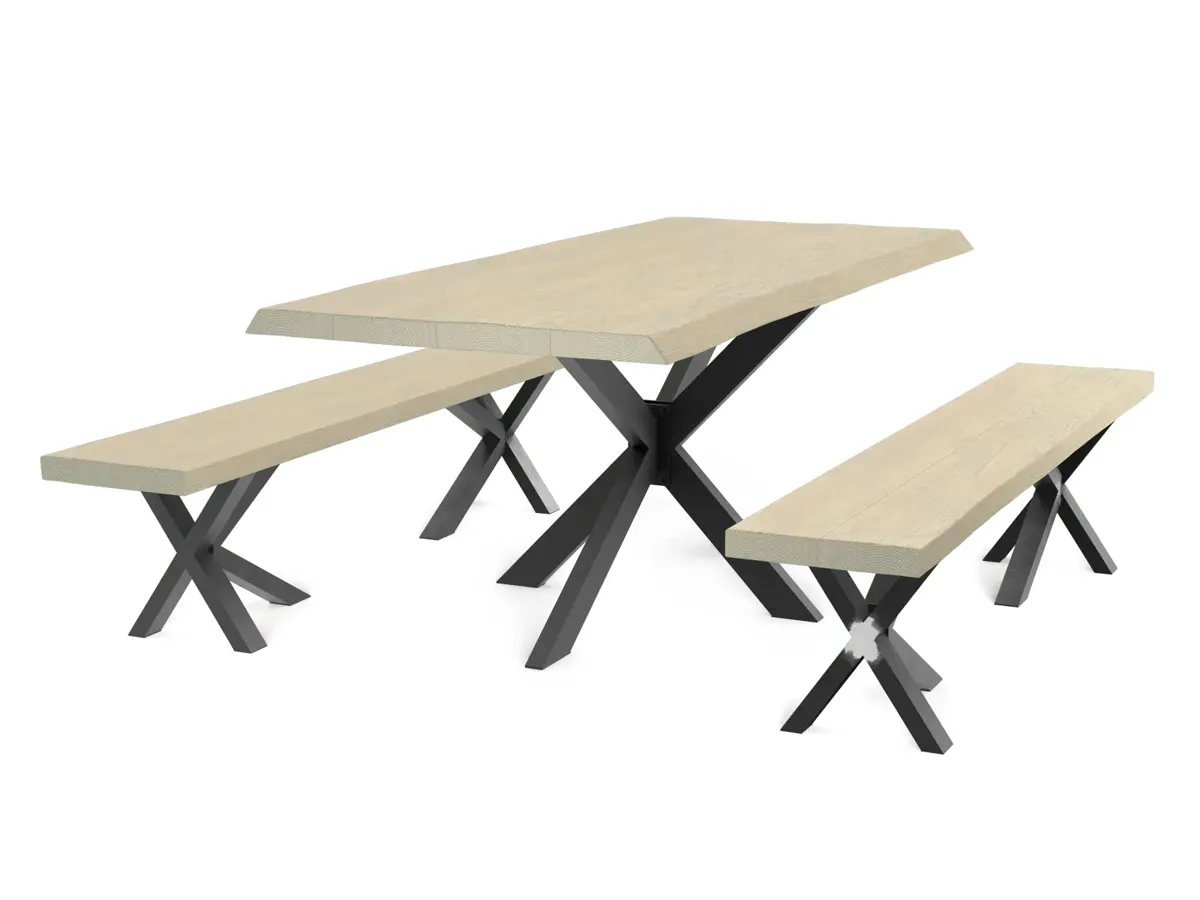
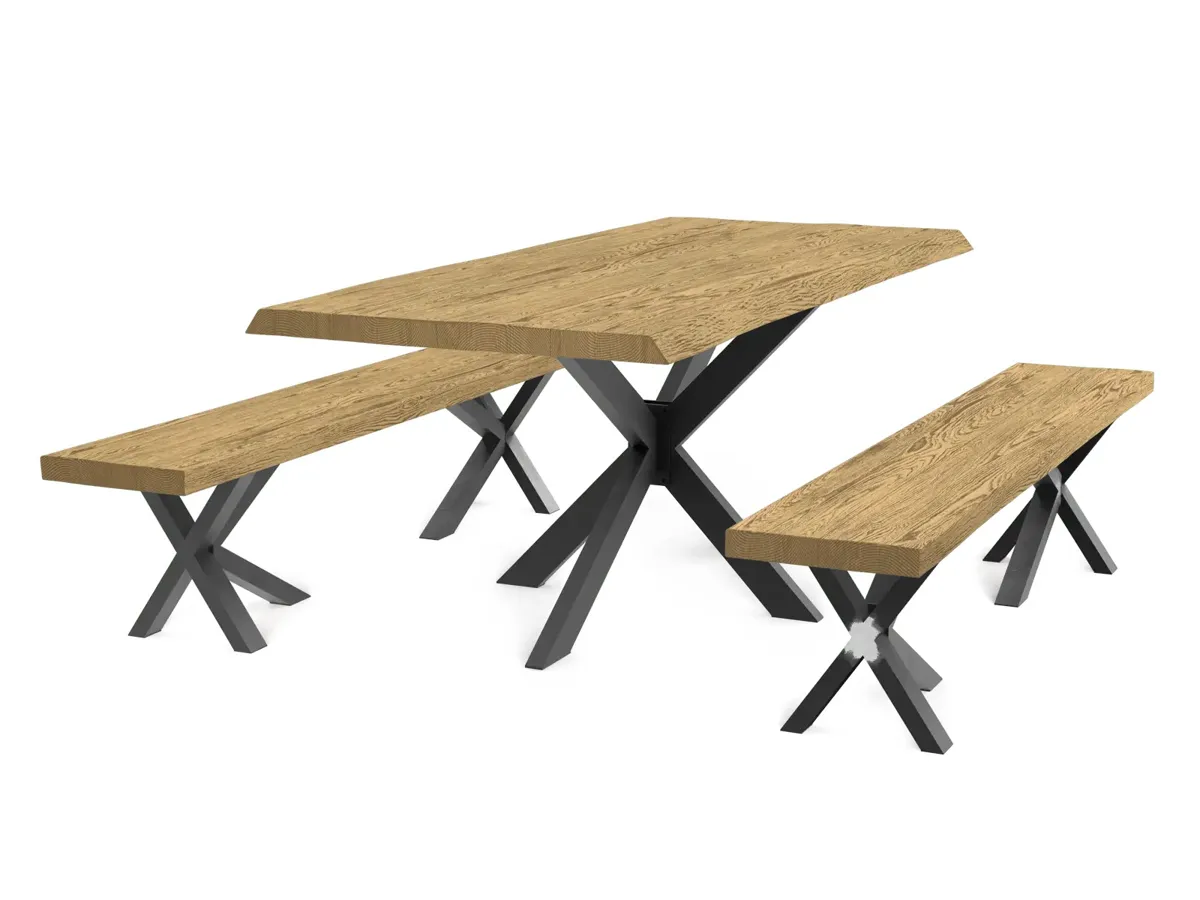
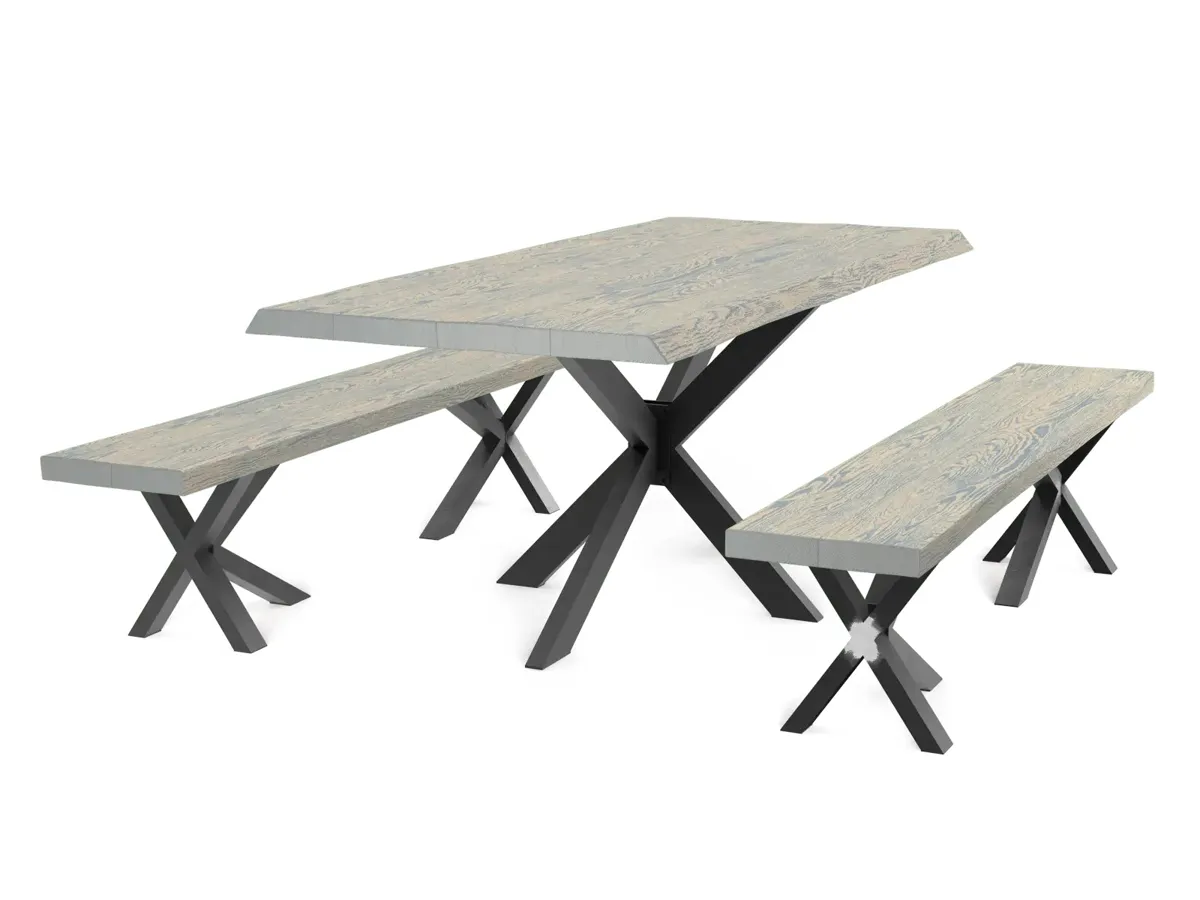
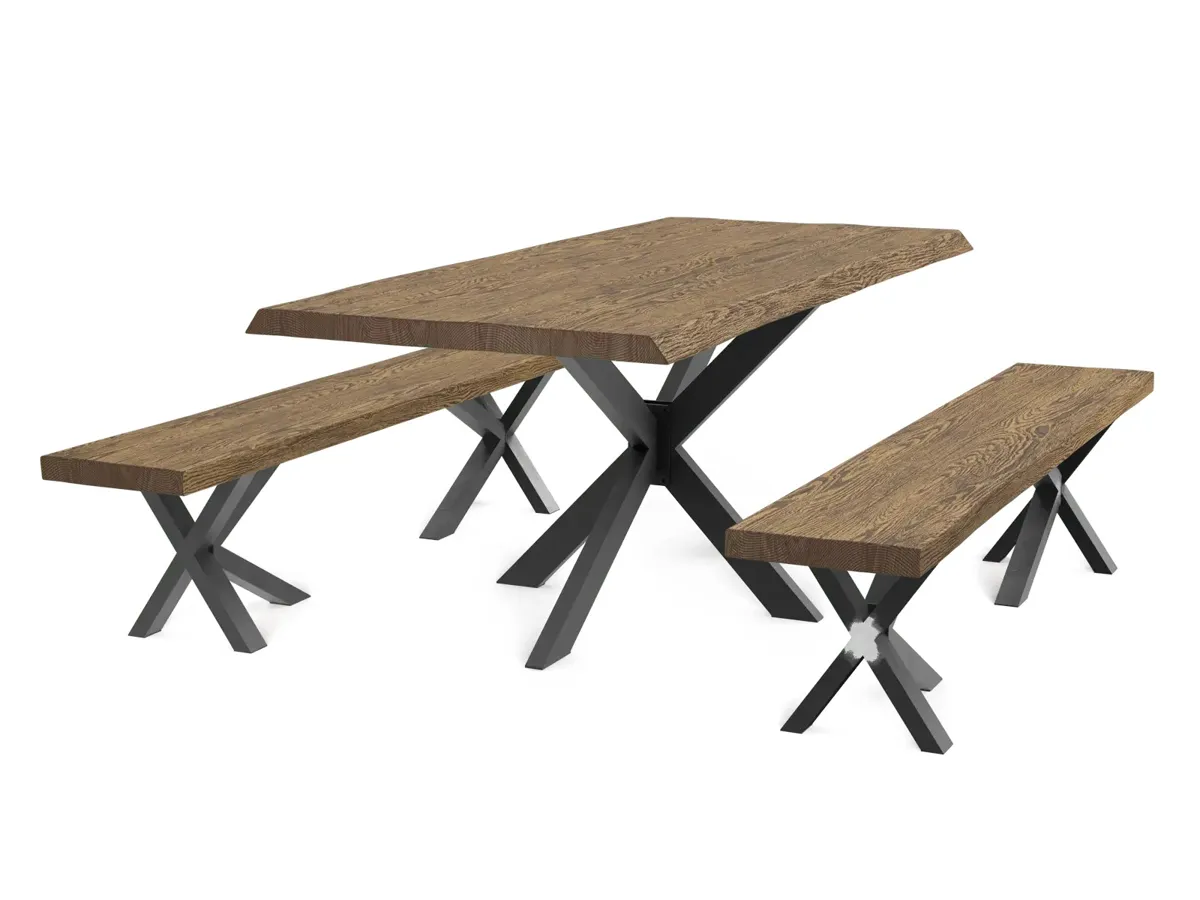
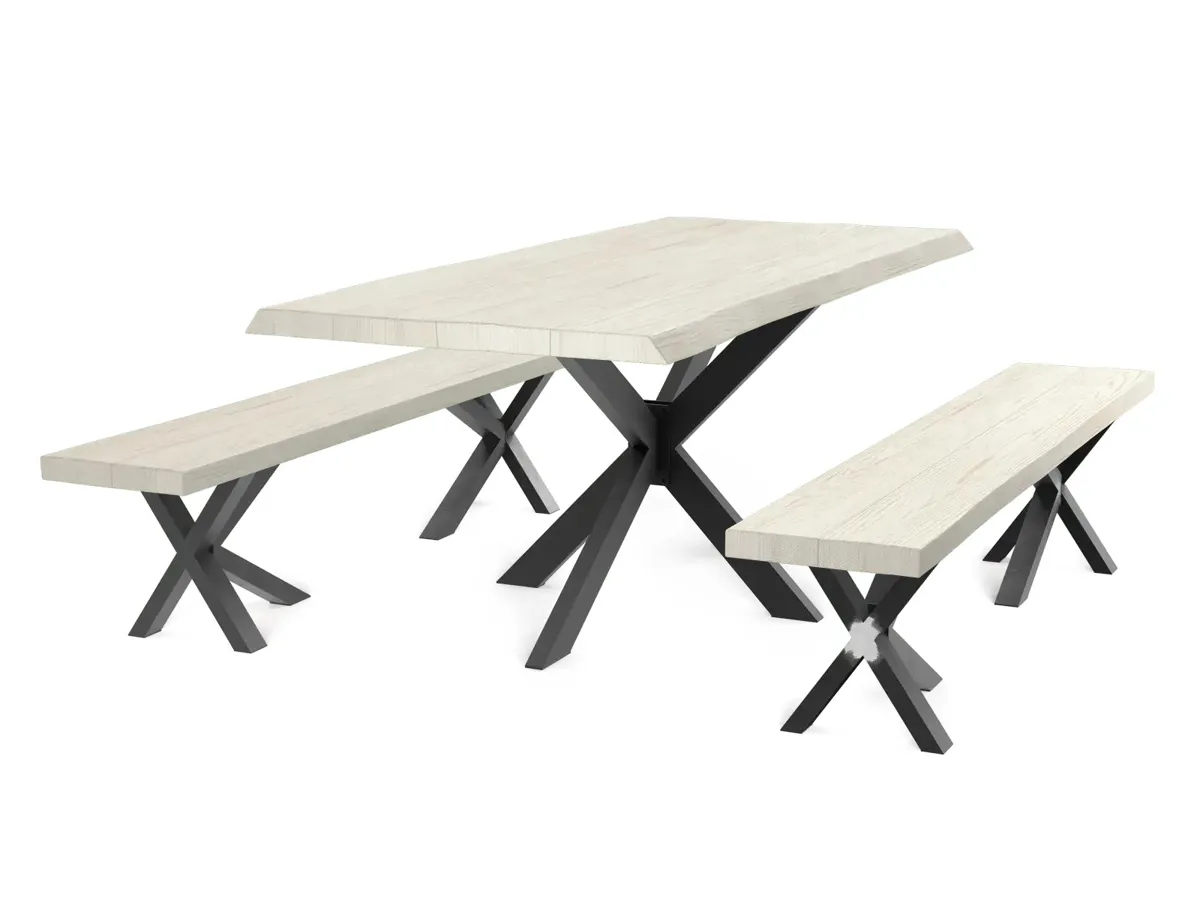
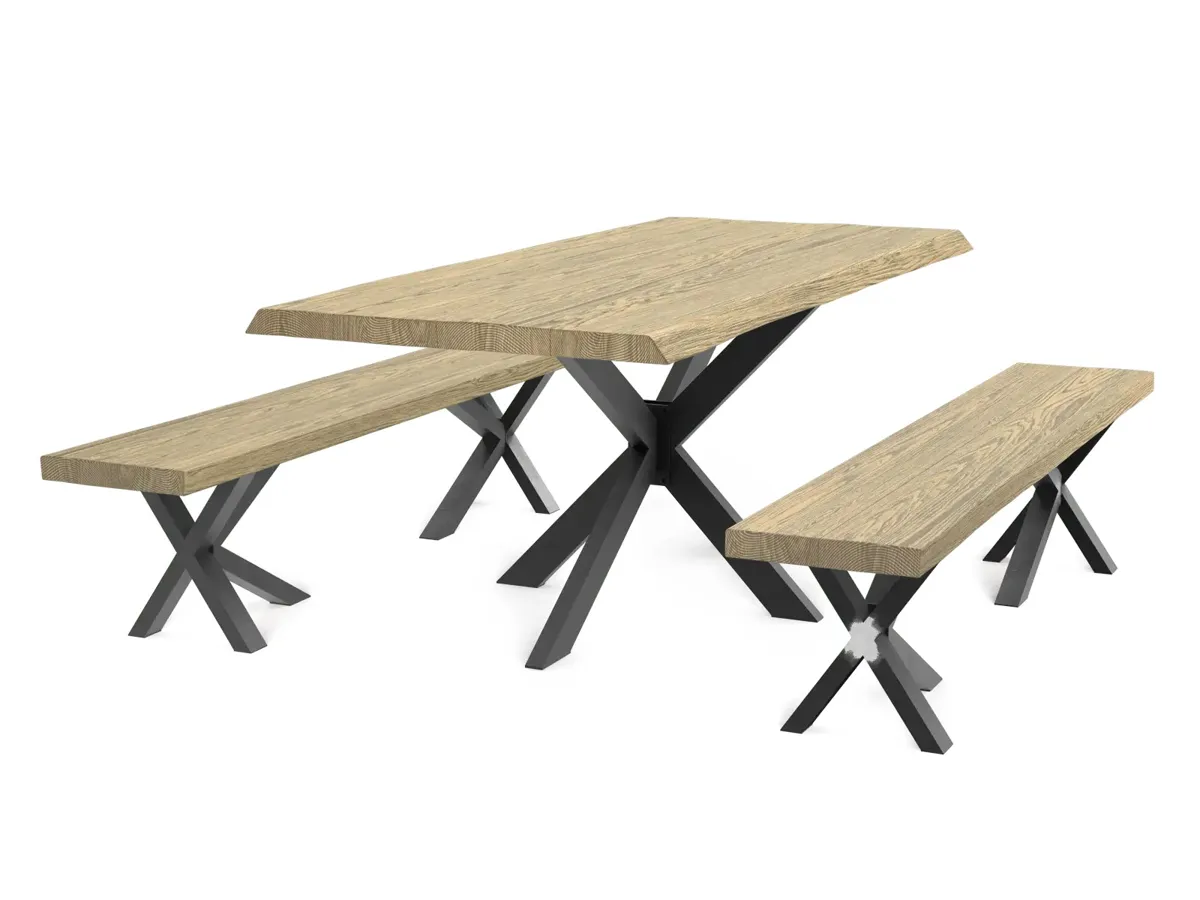
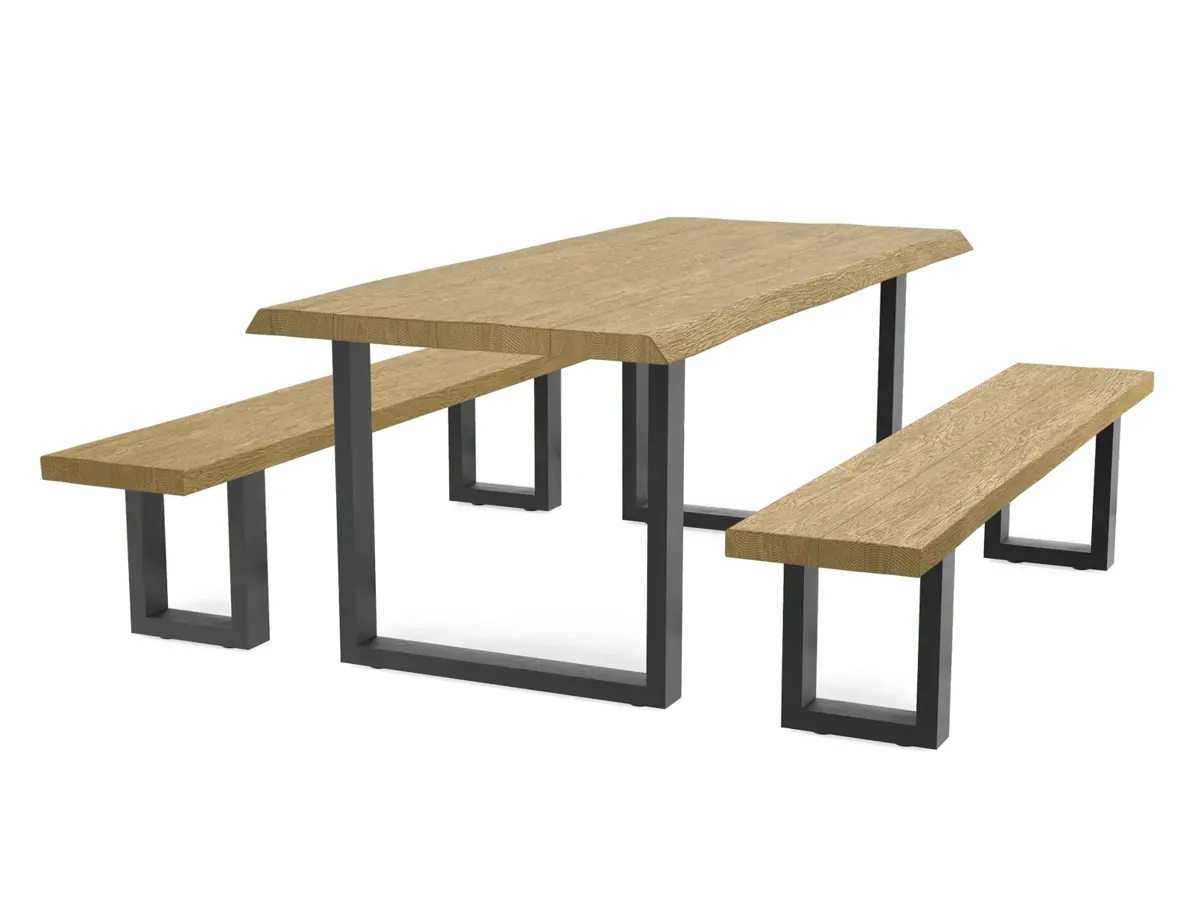
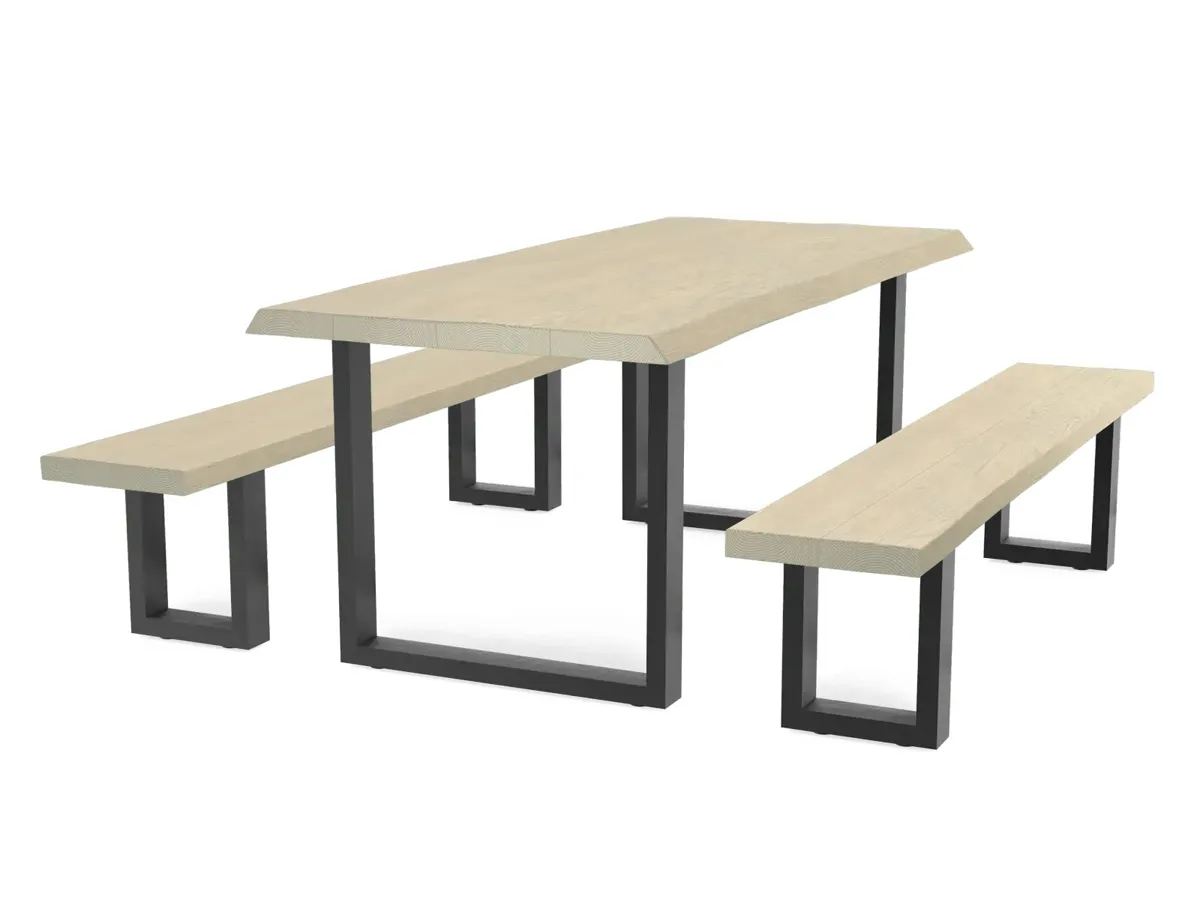
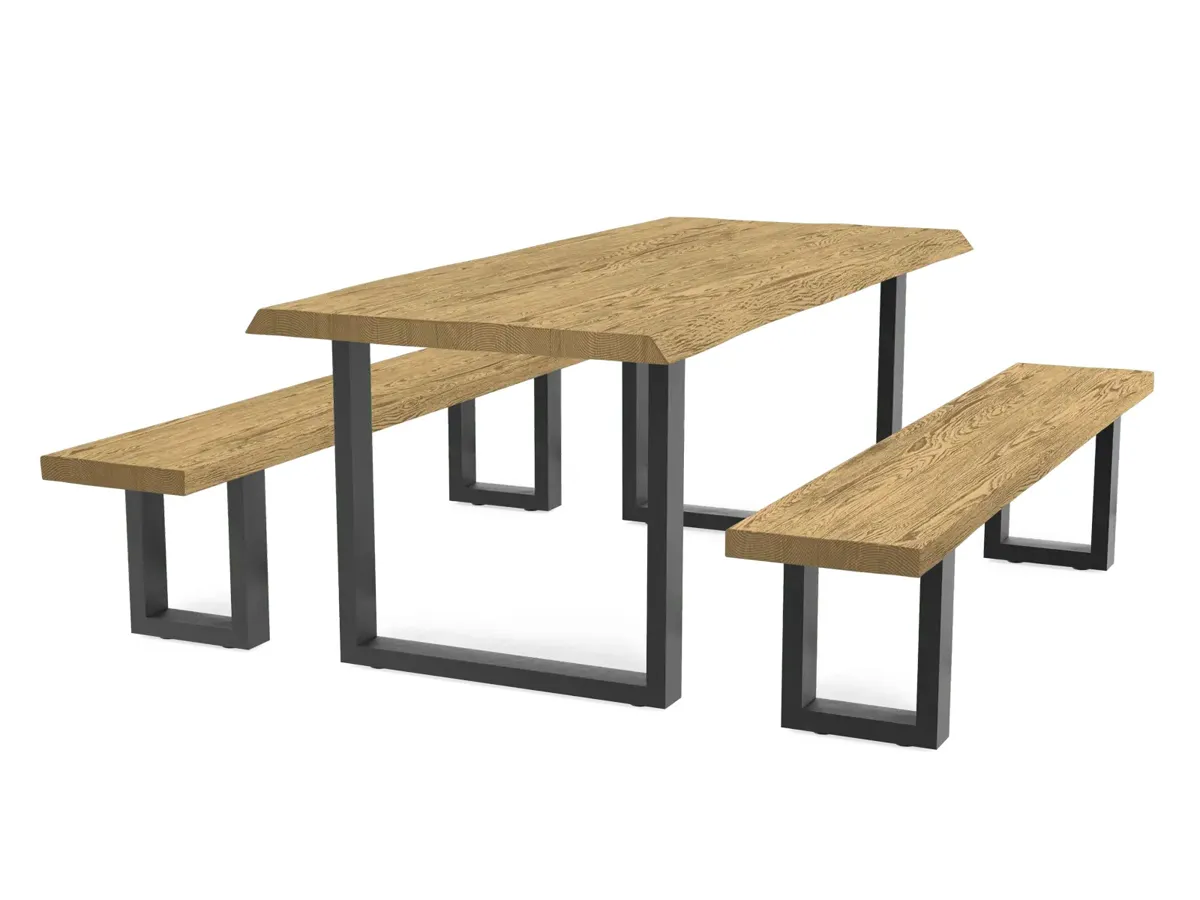
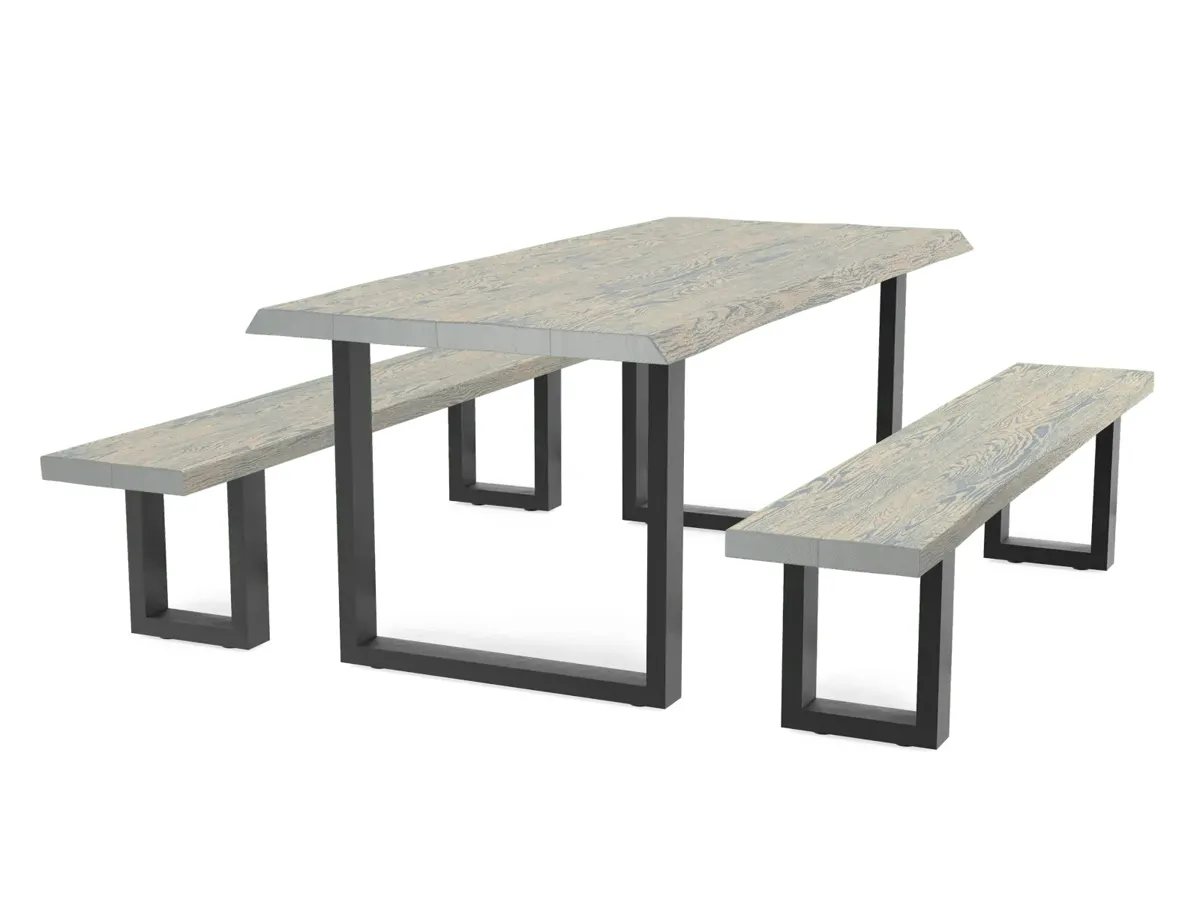
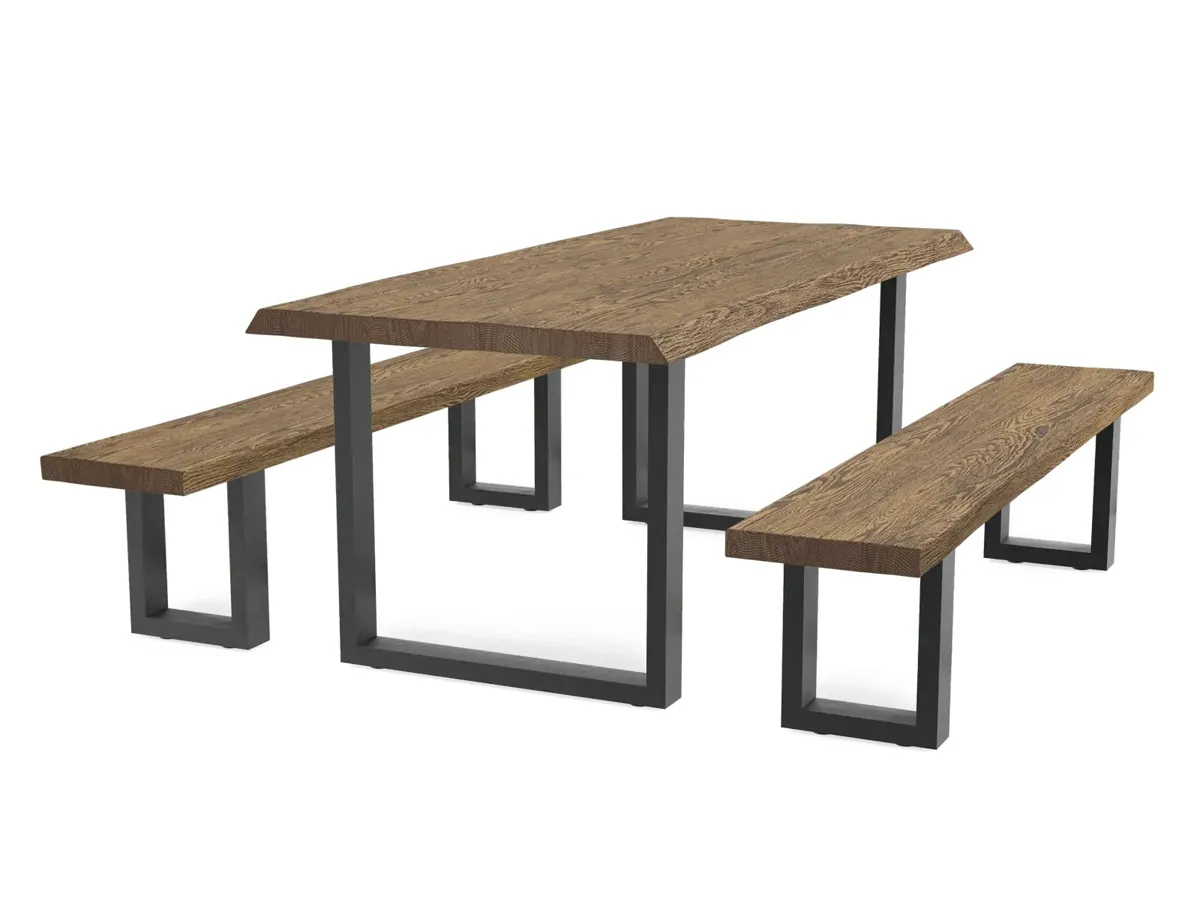
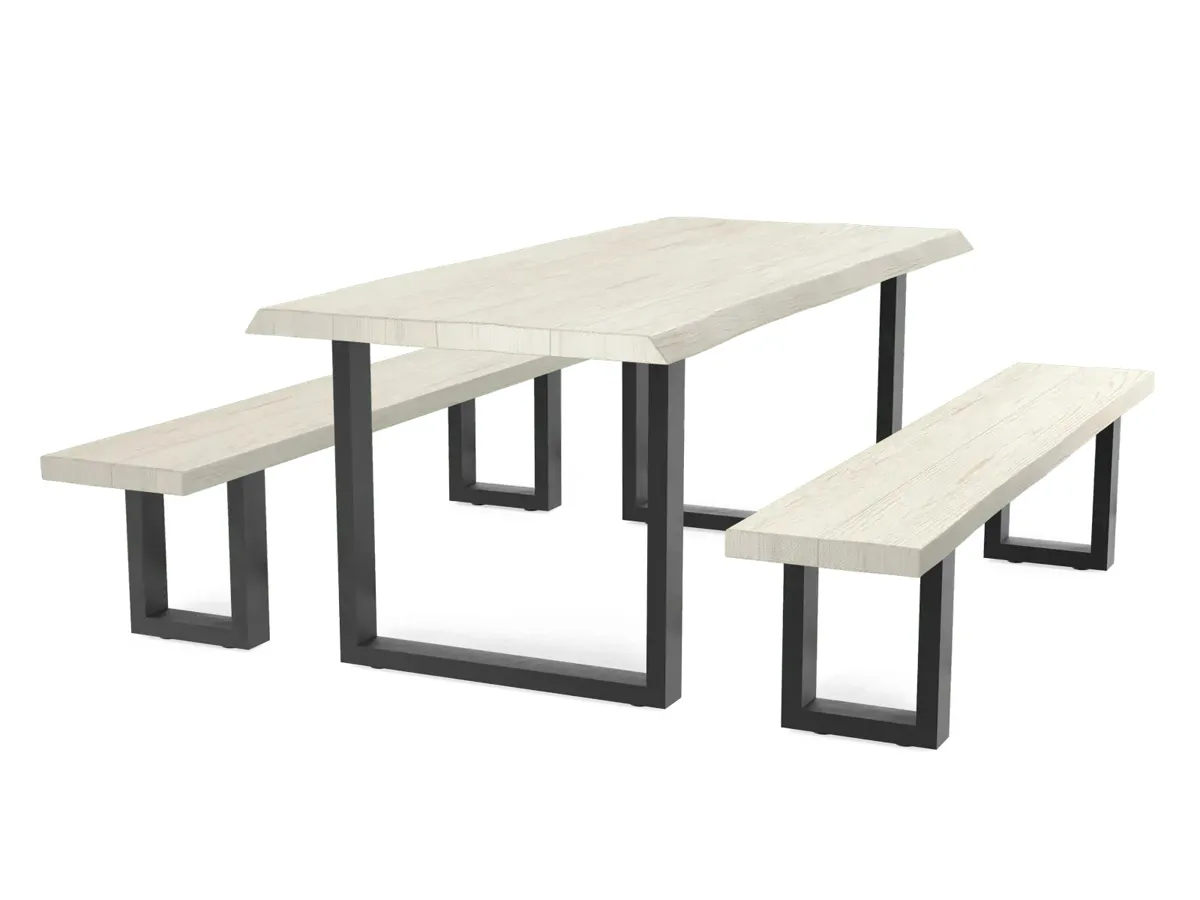
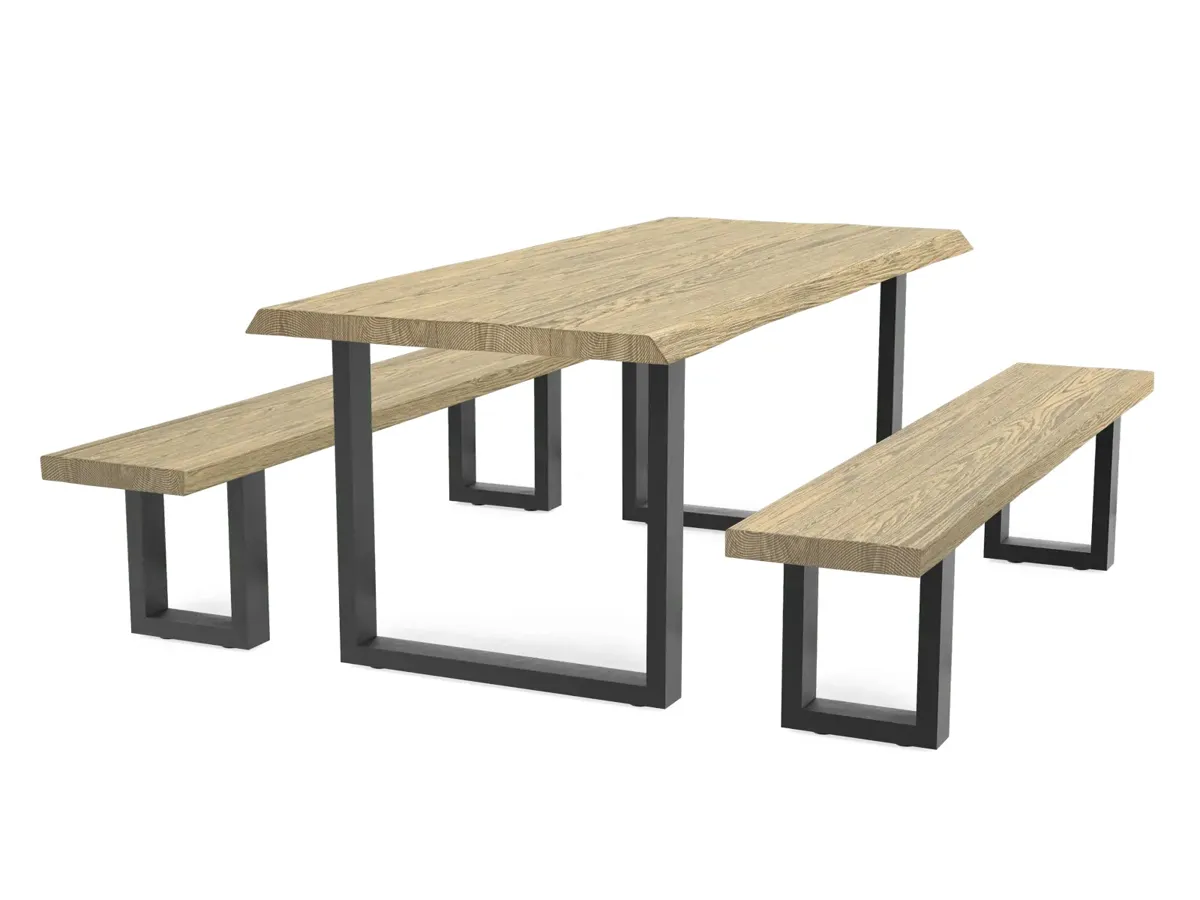
One rustic live-edge top rendered across the full finish range, on two frame styles. Same camera, same lighting, every combination from a single 3D build. These frames are the exact layers that drive the live configurator below.
01
Product source
Confirm the approved revision, dimensions and material references.
02
Purpose and format
Agree what the audience needs to see and where the work will appear.
03
Review and delivery
Name the reviewers and record the outputs and approval dates.
Process
How the work is produced.
- STAGE 1
Brief and range list.
Silhouettes, colourways, sizes and target platforms agreed. Reference imagery and mood direction collected.
- STAGE 2
Modelling.
Silhouettes modelled to real-world scale. Materials structured for variant swap and configurator use.
- STAGE 3
Interior context.
Room-set or environment library built or reused. Ready to host every silhouette in the range.
- STAGE 4
Lighting rig.
Directed lighting rig locked. Same setup across the whole range for consistency.
- STAGE 5
Rendering and grading.
Full-quality renders composited and colour-graded. Every SKU processed through the same finishing pipeline.
- STAGE 6
Delivery.
High-resolution masters plus platform encodes. Configurator layers exported separately where needed.
Who commissions this
Built for teams shipping the launch.
Furniture, homeware and interior brands running wide ranges. Direct-to-consumer furniture brands scaling PDP and configurator experience.
Interior designers marketing signature ranges. Agencies delivering integrated furniture launches. In-house creative teams scaling PDP coverage across seasonal ranges.
Case studies
Recent work.


Petalite EV charger. Full launch content set from one CGI build.
View case study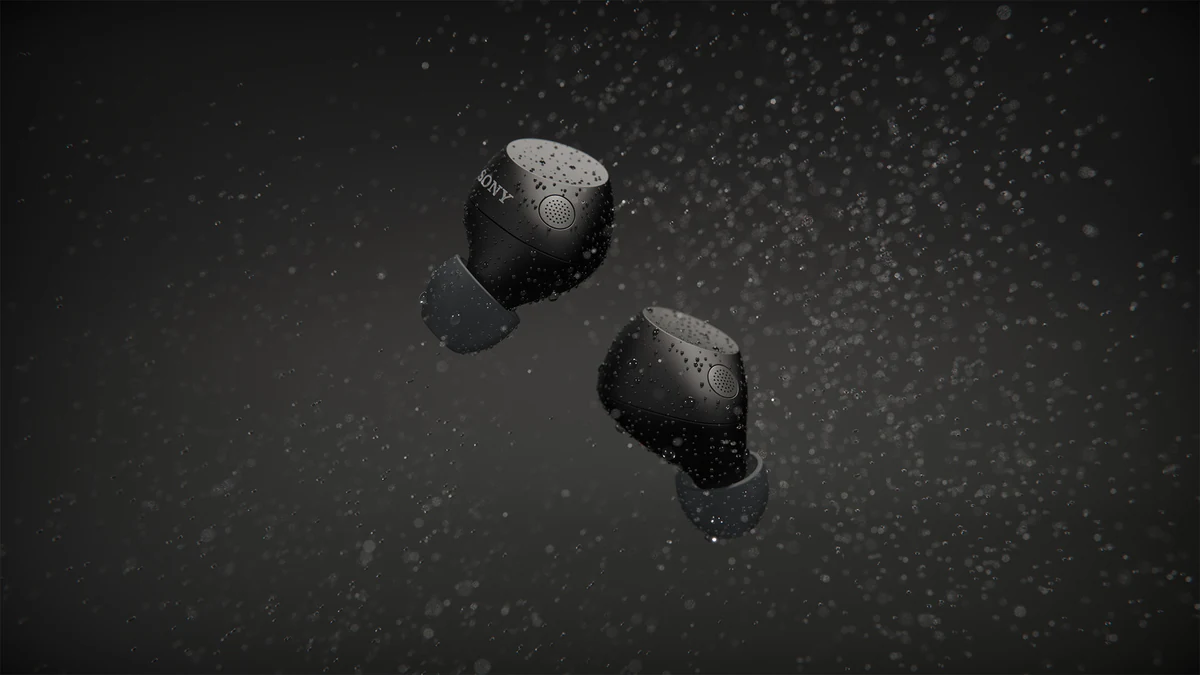


Sony WF-C710 for ImageNova: two short animated segments for the launch commercial, plus rendered colourways composited into product photography.
View case study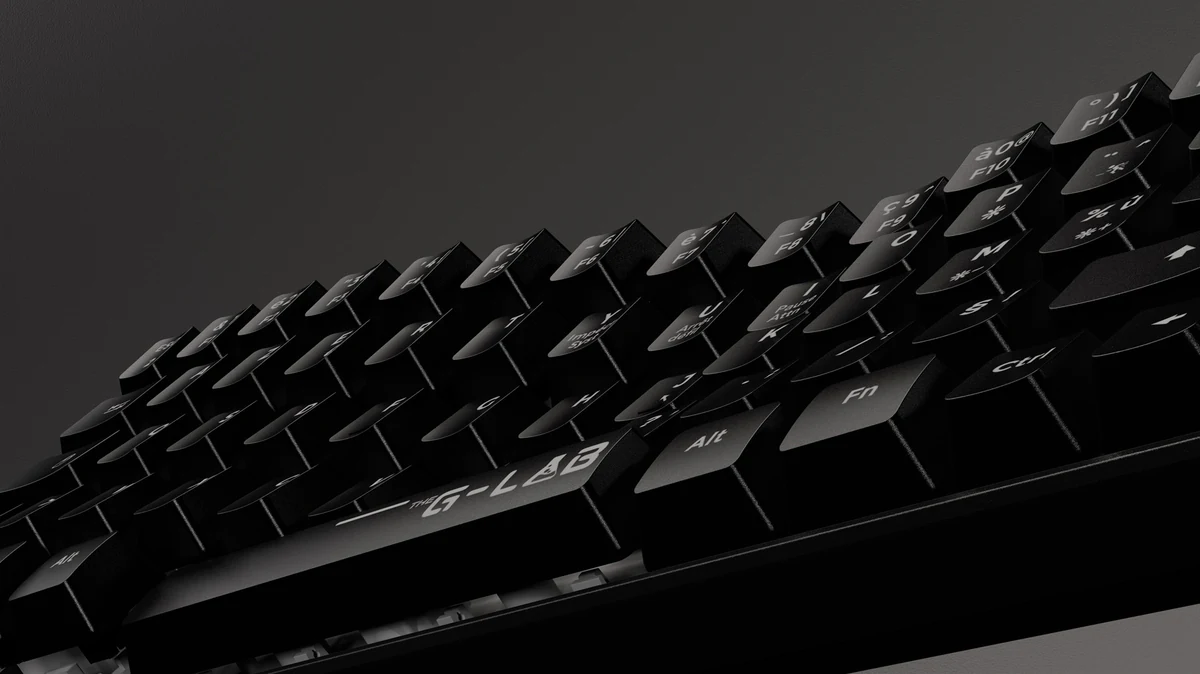

G-Lab gaming keyboard launch, from one 3D build.
View case studyTestimonial
The team at XO3D were a pleasure to work with on one of our big projects. They rendered, batched, and saved out literally thousands of images for us. Every single one of these images came out perfect.
For a commercial brief, define the range, target platforms and any configurator or AR plans first, then scope director-led furniture CGI around that job. Where the range needs a 360 viewer or configurator-ready assets, product interactives cover that part of the brief. For sibling topics, see furniture modelling, furniture animation and interior modelling.
What makes wood and upholstery look photorealistic
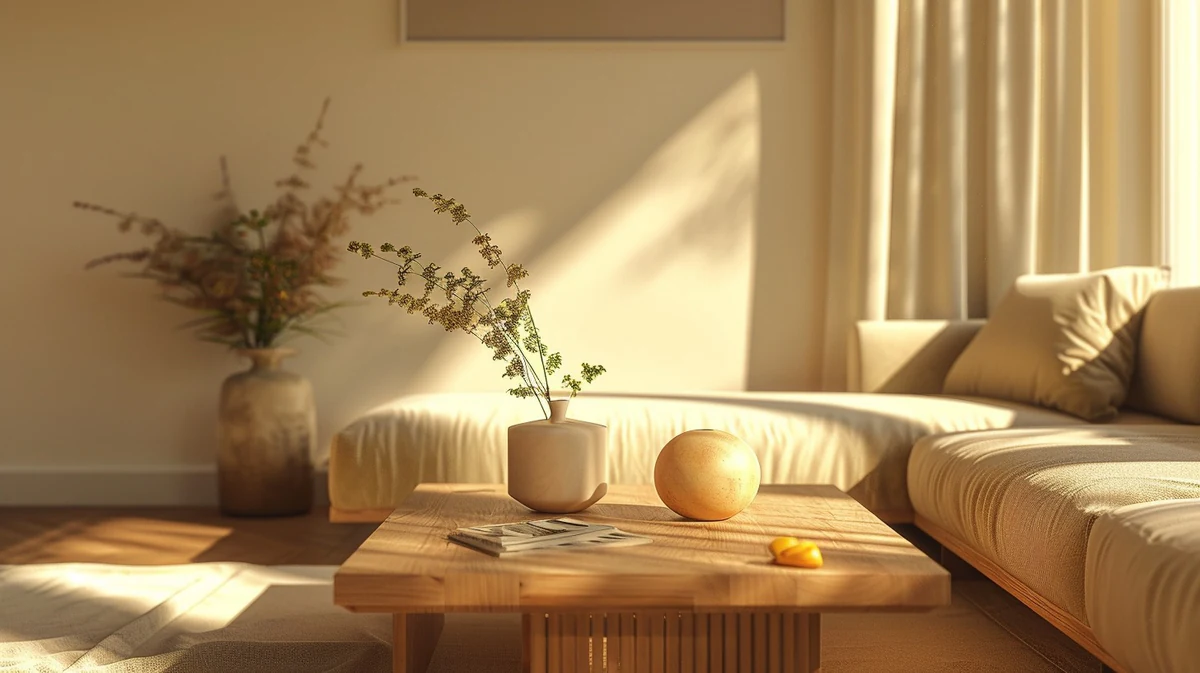
When it comes to the wood or upholstery, to make a still look photorealistic, you really need to focus on those materials. Materials mean everything. Like how intricate the wood looks with all of its different knots, and with the upholstery you need to get the correct bump, the correct feel of how the texture is going to look, as well as trying to invoke the feeling that this is real and that you can touch it.
The existing finish grid and working configurator above show the timber top in different finishes. Use the furniture and interiors CGI to scope the intended furniture imagery and materials.

FAQ
Common questions, answered.
Can 3D furniture rendering match photography?
For most furniture categories, yes. Photoreal fabric, careful material work and directed lighting close the gap that used to exist between CGI and photography.
How does furniture rendering scale across ranges?
An approved model can support further finishes and configurations. Each change still needs suitable source information, material review and output checks.
Is furniture rendering suitable for configurators?
Yes, this is one of the most common downstream uses. Same 3D asset drives live web configurators and PDP colour selectors.
How long does a furniture rendering project take?
A still image suite of 8 to 20 images typically takes 2 to 3 weeks. Full range coverage across multiple silhouettes and fabrics is scoped individually.



Your next project
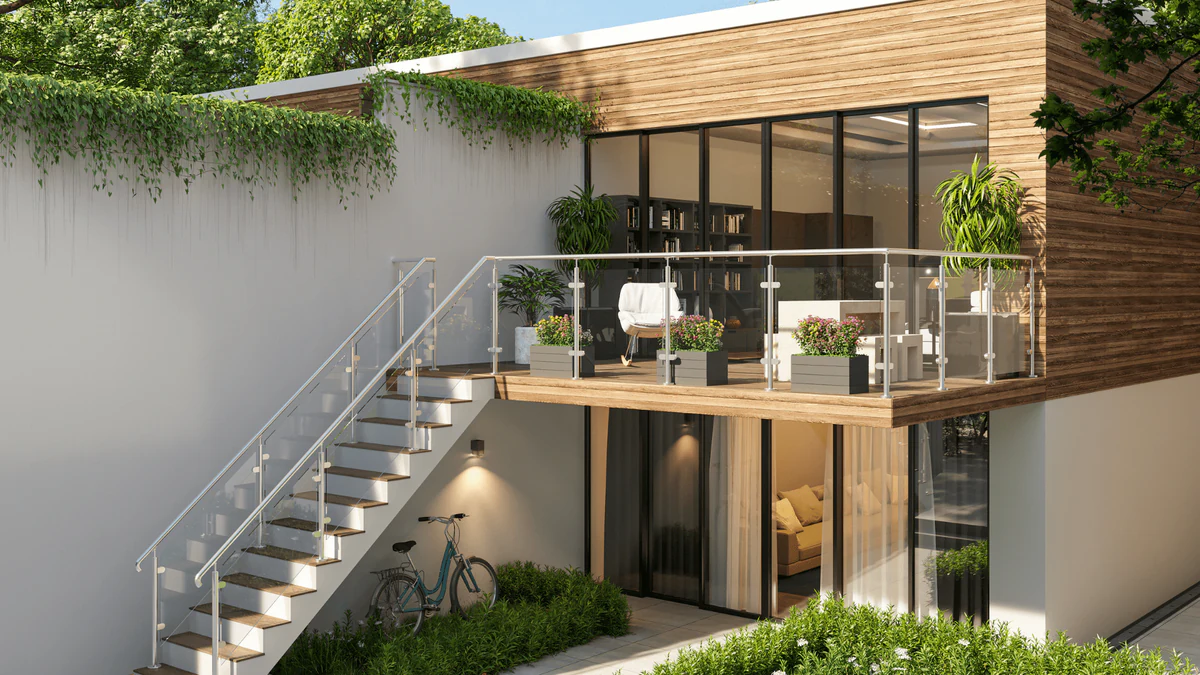
Use the room to explain the product.
A room set should clarify scale and arrangement while keeping the furniture legible. Confirm dimensions, upholstery and styling references before composing the image.
A route to consider
CGI stills and campaign visuals
Directed product stills with an agreed shot list, material references, environments and delivery formats.
Bring these three things.
- Which product configuration is being shown?
- What material samples exist?
- Which room context supports the design?
Start with an outline. We review the product, intended outputs and timing before agreeing the production scope.