
Different 3D Rendering Styles and Rendering Techniques
TL;DR
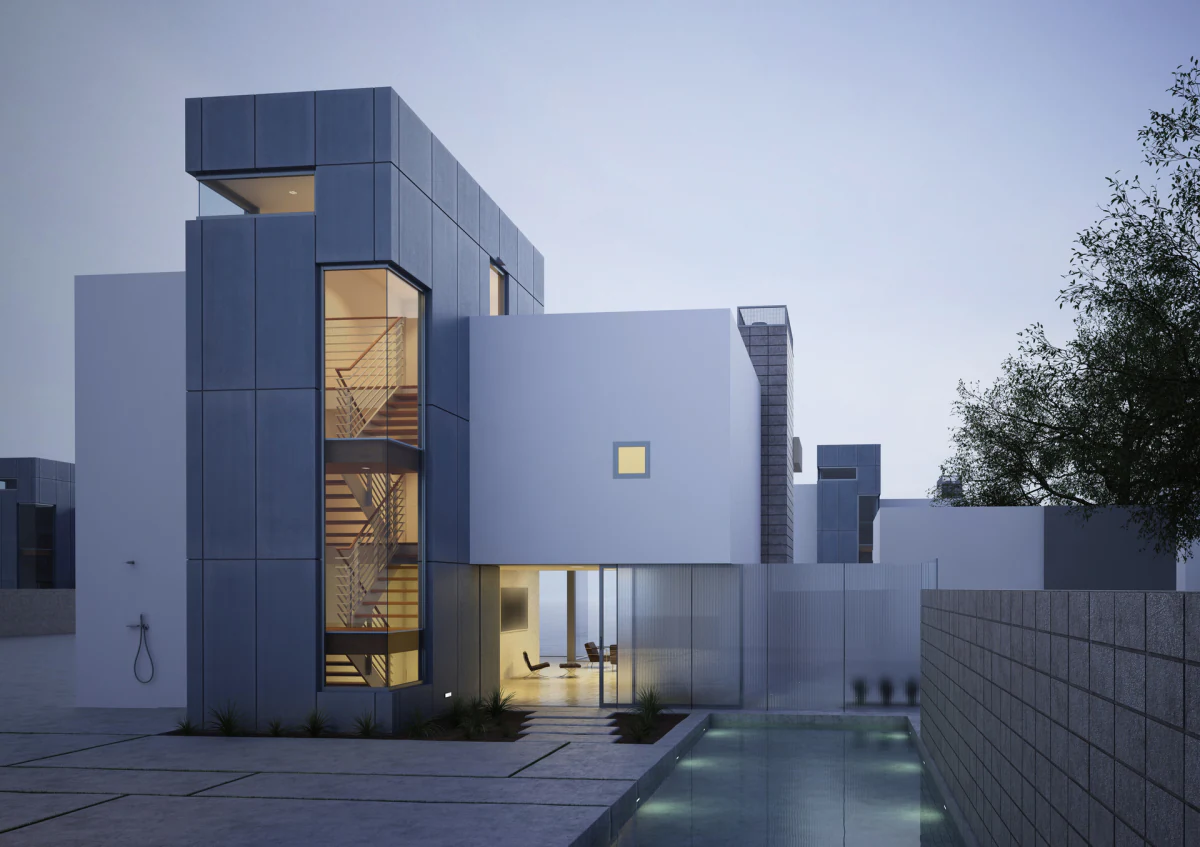
3D rendering splits into technique (how an image is computed: ray tracing, path tracing, rasterisation) and style (how it looks: photorealistic or non-photorealistic). Choosing correctly between them is a brief decision, not a technology preference.
3D rendering splits into two separate decisions that are easy to conflate: the technique, which is how the image gets computed, and the style, which is how the finished image looks. Getting both right for a given brief is a craft decision.
Getting them confused is how projects end up over-engineered or under-detailed for what they’re actually being used for.
What rendering actually is
Rendering converts a three-dimensional scene, geometry, materials, lighting, camera position, into a two-dimensional image. That’s the entire job: turn data that exists in three dimensions into something a screen or a printed page can show.
The image produced is the render. The technique used to produce it determines how long it takes and how physically accurate the result is. The style applied determines whether that result aims for photographic realism or something else entirely.
The core rendering techniques
Ray tracing
Ray tracing simulates the path of individual light rays as they bounce, reflect, and refract through a scene. It produces the most physically accurate results of any technique in common use, particularly for reflective and refractive materials like glass, water, and polished metal, which is exactly why it matters for product CGI: those are the materials product renders live or die on.
The trade-off is processing time, which is why ray tracing is typically used for final hero stills and film rather than every frame of a real-time interactive.
Path tracing
Path tracing extends ray tracing further, following light bounces across the whole scene to capture indirect lighting, colour bleed between surfaces, and soft shadow behaviour that ray tracing alone can miss. It’s the technique behind the most convincing photoreal renders in production today, and it demands the longest render times of the group in return.
Rasterisation (scanline rendering)
Rasterisation converts 3D geometry into 2D pixels directly, without simulating individual light rays. It’s dramatically faster than ray or path tracing and is the technique behind real-time rendering: game engines, interactive product configurators, and any application where the image has to update instantly as a user interacts with it.
Real-time rendering
Real-time rendering is rasterisation tuned for interactivity: consistently high frame rates so a rotating product view or a configurator feels responsive rather than laggy. It sacrifices some of the physical accuracy of ray or path tracing in exchange for speed, which is the correct trade when the deliverable is an interactive rather than a still.
Photorealistic vs non-photorealistic rendering
Style is a separate axis from technique, and the two get chosen independently based on the brief.
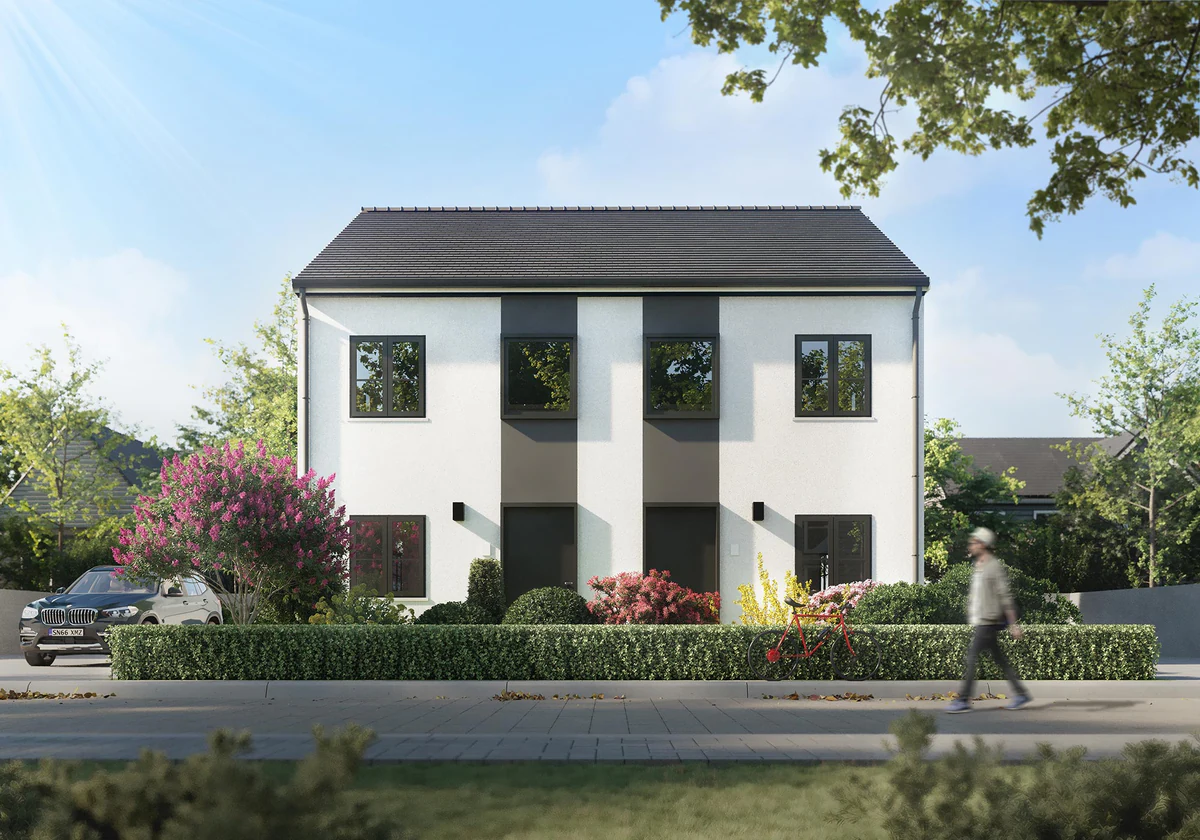
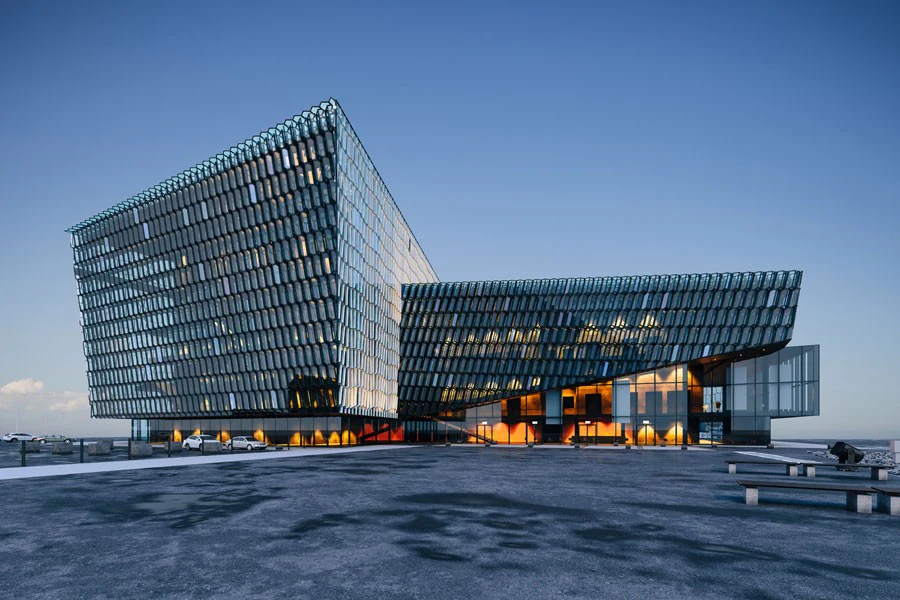
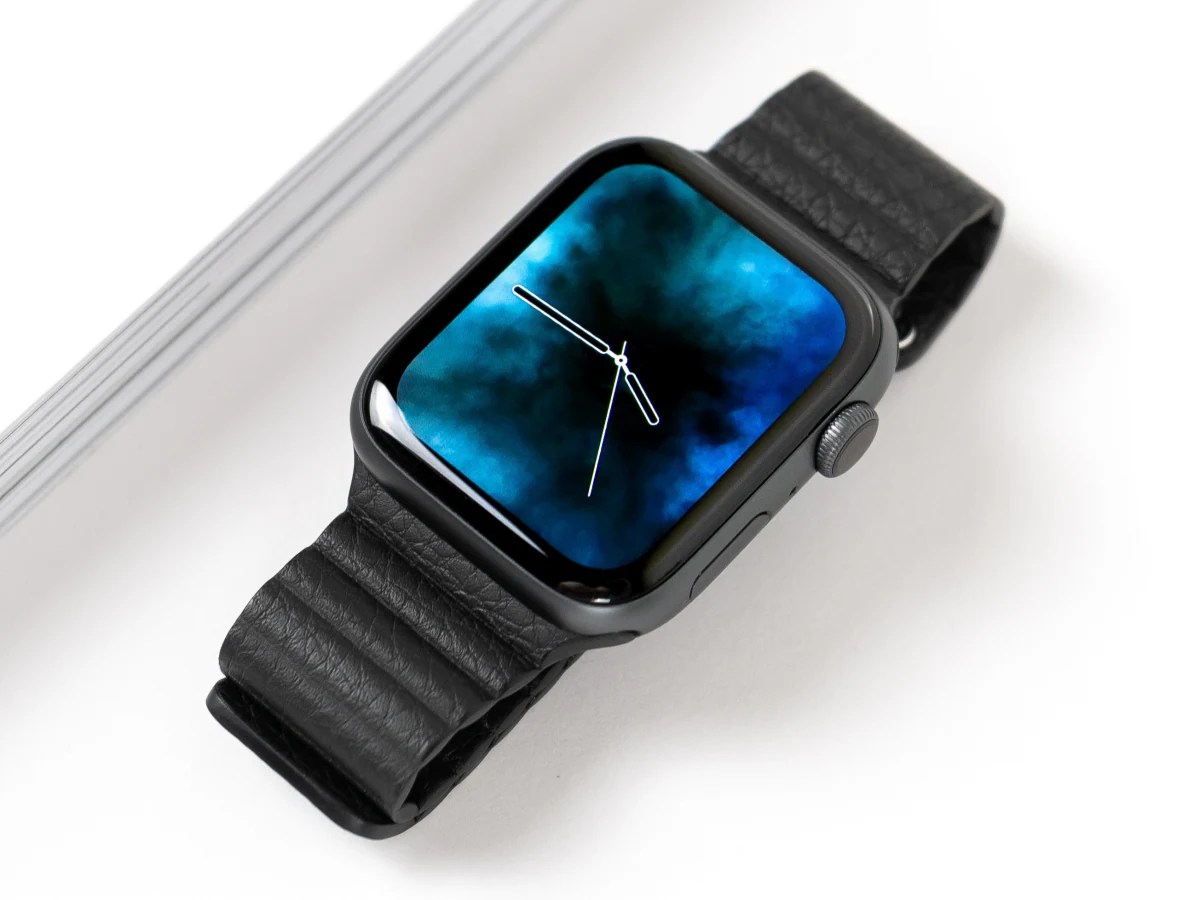
Photorealistic rendering aims for an image indistinguishable from a photograph: accurate light behaviour, correct material response, believable depth of field. This is the default style for product CGI, where the entire point is a render a customer can’t tell apart from a photograph of the physical product.
Non-photorealistic rendering (NPR) deliberately departs from photographic realism: cel-shading, technical line-drawing, sketch or watercolour effects.
This has a place in specific briefs, conceptual illustration, stylised animation, a brand that wants a deliberately graphic look, but it’s a creative choice made for a reason, not a fallback when photorealism isn’t achieved.
Lighting style and mood
Within photorealistic rendering, lighting choice sets the emotional register of the image before a single other decision is made. Bright, even lighting reads as clean and commercial.
Dusk or dawn lighting, with long shadows and warm colour temperature, reads as aspirational or lifestyle-driven. Low-key, high-contrast lighting reads as premium and dramatic.
None of these is objectively correct: the choice belongs to whoever is directing the shot, made against what the brand and the brief are trying to say.
Material and texture accuracy
Materials carry more of a render’s credibility than most other single factor. A surface that’s supposed to be brushed aluminium has to reflect light the way brushed aluminium actually does: diffuse but directional, not mirror-flat and not matte.
Fabric needs to show weave and give. Glass needs correct refraction and the right amount of tint.
Physically Based Rendering (PBR) is the standard approach for getting this right: it models how light interacts with a surface according to that surface’s actual physical properties, rather than faking the look with a flat texture map.
Image-Based Lighting (IBL) complements this by lighting the scene from real-world captured environments rather than artificial light sources alone, which is often what makes a render’s reflections and ambient colour feel grounded rather than synthetic.
Camera angle as a rendering decision
Camera angle isn’t cosmetic. A three-quarter view shows form and depth in a way a straight-on shot can’t.
A straight-on shot is correct when the brief calls for clarity over drama, a technical or specification-led image rather than a hero shot. The choice of angle is made for the same reason the choice of lighting is: it serves what the image needs to communicate.
How a render gets built, in practice
The process behind a finished render follows a consistent structure regardless of technique or style:
- Brief and reference. The final look, the environment, the intention, and the materials involved all get established before any geometry is built.
- Modelling. The object or scene gets built as 3D geometry: vertices, edges, and the polygons that connect them into surfaces.
- Materials and lighting. Surface properties get assigned and the lighting setup gets built to match the agreed mood and technical requirements.
- Rendering. The chosen technique, ray tracing, path tracing, or rasterisation, computes the final image or sequence from the scene.
- Review and refinement. Materials, lighting, and camera get adjusted against feedback until the render matches the brief.
Lighting deserves particular attention throughout this process. It’s the single variable most likely to make or break realism: incorrect light direction or intensity produces an image that looks subtly wrong even to a viewer who couldn’t explain why. Getting it right requires understanding how light actually behaves, not just where to place a virtual lamp.
What this comes down to
Technique and style are two different decisions, made for two different reasons. Technique is chosen for what the deliverable needs to do: a still image can afford path tracing’s render time, an interactive configurator can’t.
Style is chosen for what the image needs to say: photorealism for a product that has to look real, a non-photorealistic style for a brief that calls for something else entirely. Confusing the two is how projects end up with the wrong tool for the job.
Start the conversation
Have a product worth showing?
We reply to every brief personally, usually within one working day.
FAQ
Common questions, answered.
What are the main 3D rendering techniques?
Ray tracing, path tracing, rasterisation (scanline rendering), and real-time rendering are the four techniques in active use, each trading accuracy against render time differently.
How does photorealistic rendering differ from non-photorealistic rendering?
Photorealistic rendering aims for an image indistinguishable from a photograph. Non-photorealistic rendering deliberately adopts an artistic style, such as cel shading or a technical line-drawing look, where realism isn't the goal.
What is ambient occlusion?
A shading technique that calculates how exposed each point on a surface is to ambient light, adding soft contact shadows in creases and corners that make a render read as physically grounded.
Why does material accuracy matter more than resolution in product rendering?
A low-resolution image with correct material behaviour, how light reflects off glass, metal, or fabric, reads as real. A high-resolution image with wrong material response reads as synthetic regardless of pixel count.


Start the conversation
Got a product worth showing? Let’s talk about what it needs to do.
We reply to every brief personally, usually within one working day.