
XO3D Studio · 3D Rendering
Keyshot Tips: 11 Techniques for Better Product Renders
Studio techniques for cleaner, faster Keyshot output.
Keyshot is one of the most direct routes to a photoreal product render. Real-time preview, 750-plus preset materials, and native support for over 30 3D file formats. These are the techniques we use at XO3D to lift render quality and speed up production on client work, whether you are a solo designer or an in-house team scaling up.
Why Keyshot
Real-time product rendering, straight from CAD.
Keyshot is designed for product renders. Fast import from CAD, real-time preview, a strong material library, and native HDRI-based lighting make it the fastest route to a photoreal product still on most launch briefs.
The tips below are what we use day to day at XO3D. None are exotic. Together they produce cleaner renders in less time, and give you a consistent path from CAD to finished packshot without the trial and error.
Advantages
Why brands commission it.
Real-time preview.
See the render update as you work. Camera, lighting and material decisions land in seconds, not minutes. Client reviews go faster because you can adjust live.
Strong material library out of the box.
Over 750 preset materials cover most product finishes on day one. Save your own variants back into the library once tuned and you build a house style over time.
Native CAD import from 30-plus formats.
STEP, IGES, SolidWorks, Rhino, Fusion, Alias, Parasolid. Keyshot imports directly and preserves geometry hierarchy, so the CAD you have is the model you render.
HDRI-based lighting done well.
The HDRI editor lets you pin lights and reflections directly onto the environment map, giving you photographic control without a full light rig.
Batch rendering with studios.
Studios link model sets, environments and multi-materials into one-click render queues. Full colourway sweeps run overnight, unattended.
Trade-offs
What to plan for.
Best for hard-surface product work.
Keyshot excels at hard-surface, engineered and consumer products. For organic character work, VFX or architectural interiors it is usually not the right primary tool.
Animation timeline is more limited than DCCs.
Keyshot's animation system is fast for product turntables and cameras, but complex animation, rigging or heavy VFX belong in 3ds Max, Cinema 4D or Blender.
Check the tool requirements.
Check the current vendor licence and system requirements before selecting a tool. Judge its suitability against the workflow and output rather than the preset library alone.
Render times still scale with complexity.
Real-time preview is not final render. Big product suites, high-resolution stills and long animation shots still take render time. GPU rendering has narrowed the gap but not closed it.
Before you start
Project checklist.
You do not need all of these on day one. But the more of this we have at brief, the faster the project moves and the fewer clarifying rounds it needs.
Add textures to every material.
Preset materials look best with a subtle bump or roughness map. Real-world surfaces have manufacturing-scale imperfection. A tiny bump map removes the plastic-perfect uncanny look.
Build your own material library.
Save tuned materials back into a custom folder. Add source textures into the Keyshot Resources folder so links resolve. Over time you build a studio-consistent house library.
Link matching materials.
Right-click to copy and paste materials between parts. Linked materials update everywhere in one edit. Fewer places for drift, faster iteration.
Use Geometry View for scene setup.
Press O to open Geometry View. Moving parts and cameras is faster in Geometry View than the render window, especially for camera paths in animations.
Region-render for sample tuning.
Region-render the darkest part of your scene to calibrate sample count. Press H to see the samples counter. Match your final render to the region-render sample number, no wasted overnight jobs.
Add pins in the HDRI editor.
Pin lights and reflections onto the HDRI to shape metallic and glossy surfaces. Sharp falloffs for metals, smoother for softer materials. This is what turns a technical render into a photograph.
Use HDRIs from Polyhaven.
Keyshot ships with HDRIs, but Polyhaven's professional-grade set is bigger, sharper and free. The studio scans are especially strong for product work.
Model sets for configurations.
Use model sets to swap between product configurations in one scene. Materials can be linked or unlinked between sets, giving you both variety and control.
Studios for one-click batch rendering.
Studios link model sets, environments and multi-materials. Render every variant in one click at the end of the day. Turnaround time drops significantly.
Multi-materials for colourway switches.
Attach a multi-material to a part and switch between colours or finishes without duplicating the scene. Perfect for range grids and configurator sources.
Tune inside the Image Tab before final render.
The Image Tab holds photographic filters, bloom, vignette and grading. Finesse the look inside Keyshot before exporting to Photoshop, less post-work later.
Applications
Where the finished asset ships.
Product packshots and ecommerce stills.
Studio-lit packshots at multiple angles, produced fast from CAD. The default deliverable for consumer product listings, Amazon A+ content and PDP hero imagery.
Colourway and material variants.
Same camera, same lighting, endless finishes and material states. Multi-materials and studios make it fast to render a full range from a single scene.
Exploded and section renders.
Rebuild the same scene as an exploded assembly or section view without leaving Keyshot. Ideal for engineering communication and launch teasers.
Configurator source imagery.
Batch-rendered still layers that feed WebGL configurators or PDP colour selectors. One scene, one export command, every variant on-brand.
Marketing and lifestyle renders.
Compose the product into environments using HDRI, backplates and native lighting. Fast lifestyle output without leaving the render engine.
Product animation and turntables.
Animate cameras, materials and part visibility for launch films, 360 turntables and exploded reveals, all from the same source scene.
Process
How the work is produced.
- STAGE 1
Import CAD.
Bring in STEP, IGES, SolidWorks or Rhino. Keyshot preserves your geometry hierarchy, so linked parts and assemblies remain intact.
- STAGE 2
Materials pass.
Apply library materials as a starting point, then tune with bump, roughness and texture layers. Save the strongest variants back to your library.
- STAGE 3
Lighting and HDRI.
Pick an HDRI that suits the product, then pin extra lights and reflections into the environment map. Keep the light story deliberate.
- STAGE 4
Camera and composition.
Set cameras with real-world lens choices. Compose using photography rules, not CAD defaults. This is the single biggest lift on 'looks like a photo' output.
- STAGE 5
Sample calibration.
Region-render the darkest region for sample count. Match this to the final render setting to avoid wasted long renders.
- STAGE 6
Batch render via studios.
Group your model sets, environments and multi-materials into studios. One click renders every variant overnight.
Who these tips are for
Built for teams working in Keyshot day to day.
Product designers producing renders from CAD as part of their design process. In-house creative teams responsible for ecommerce and PDP imagery, colourway variants and packshot suites.
Freelance CGI artists and small studios scaling up their Keyshot output, and agencies looking to shorten review cycles and lift final quality on product work.
Case studies
Recent work.


G-Lab gaming keyboard, Keyshot-led material and lighting work supporting the launch animation and ecommerce still suite.
View case study


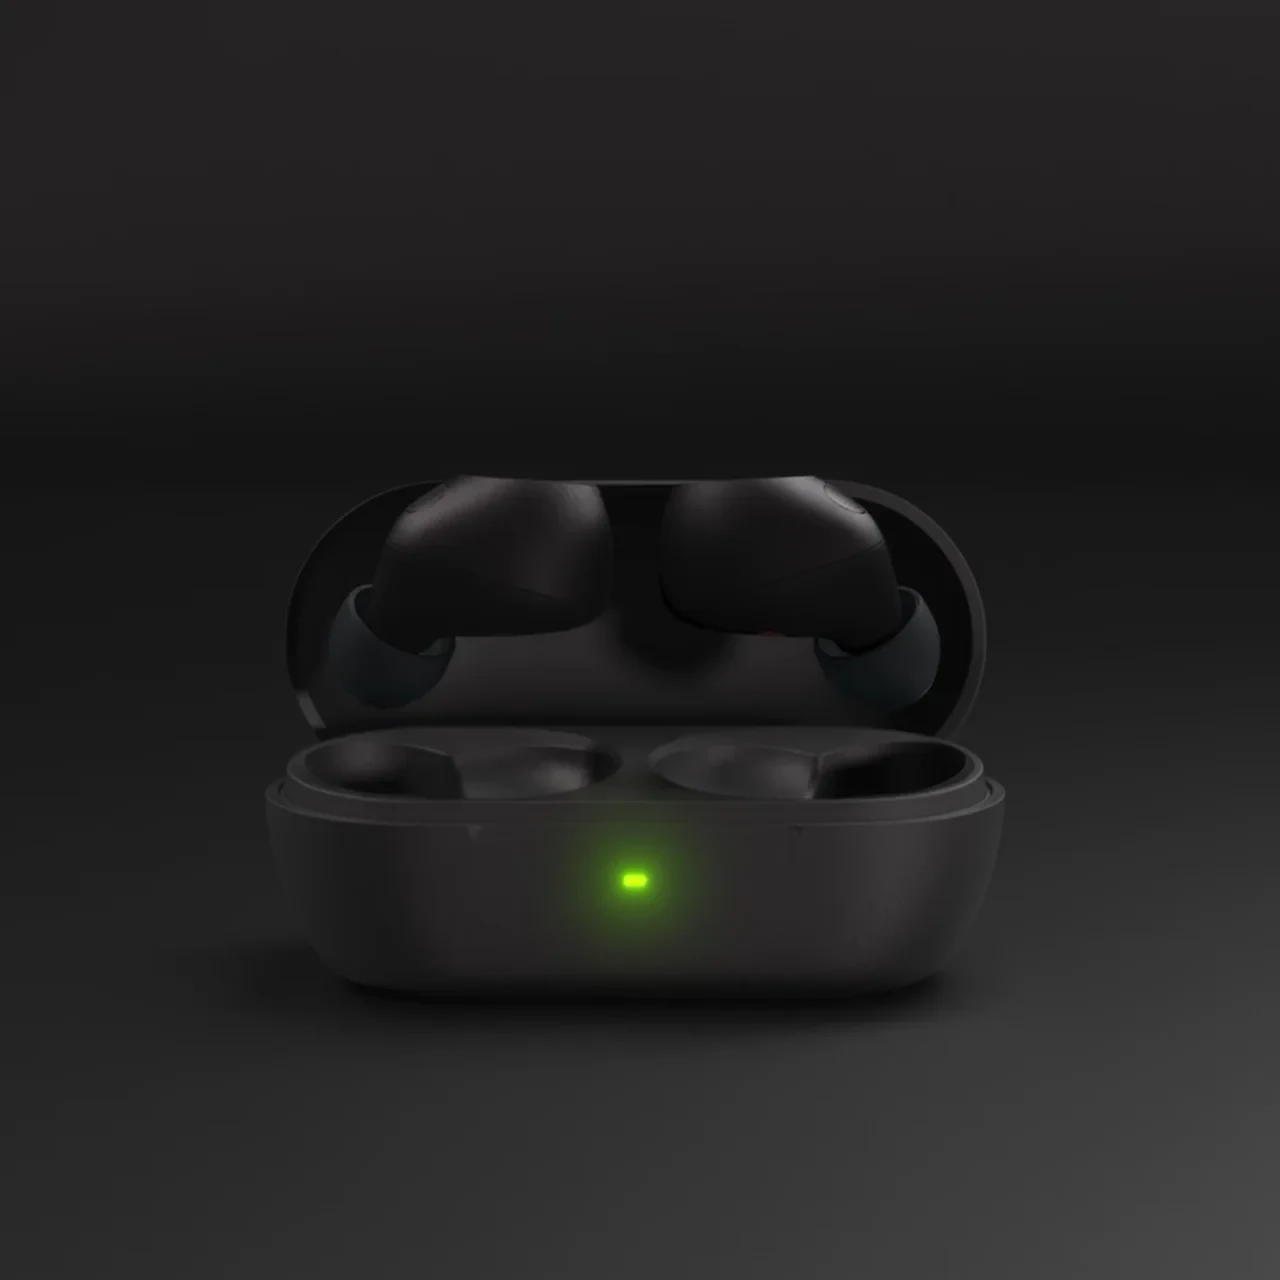
Sony WF-C710 for ImageNova: two short animated segments for the launch commercial, plus rendered colourways composited into product photography.
View case study

Petalite EV charger. Keyshot lit and rendered the hero stills, exploded views and colourway variants for the launch campaign.
View case studyTestimonial
The team at XO3D were a pleasure to work with on one of our big projects. They rendered, batched, and saved out literally thousands of images for us. Every single one of these images came out perfect.
For a commercial brief, the next step is not to pick a Keyshot technique in isolation. Define the product story and the deliverables the render has to feed, then scope director-led 3D product rendering around that job. For sibling techniques, see our product rendering guide and product modelling service.

FAQ
Common questions, answered.
Is Keyshot good for beginners?
Yes. Keyshot's UI is one of the most beginner-friendly in professional 3D rendering. Real-time preview and a strong material library shorten the learning curve significantly compared with generalist DCCs.
Can Keyshot handle animation?
Keyshot handles product-focused animation well, camera moves, part visibility, material transitions and turntables. For rigged character work, complex simulation or heavy VFX, a full DCC (3ds Max, Cinema 4D, Blender) is a better fit.
What file formats does Keyshot import?
Over 30, including STEP, IGES, SolidWorks, Parasolid, Rhino, Fusion 360, Alias, OBJ, FBX and native Keyshot files. Live-linking plugins let you push changes from CAD without a full re-import.
Is Keyshot GPU-accelerated?
Yes. Keyshot supports GPU rendering (NVIDIA CUDA / OptiX) as well as CPU. GPU render times are typically much faster on modern hardware, especially on hero stills and animation frames.
What should a team check before choosing KeyShot?
Review current vendor licence and system requirements, supported source formats and the output workflow. Test a representative product scene before standardising the tool.
Do I need Photoshop after Keyshot?
Not always. The Image Tab in Keyshot handles photographic filters, bloom and vignette, and can carry the whole finishing pass for simple renders. For complex compositing, retouching or brand-graded output, Photoshop or a compositor (Nuke, After Effects) still adds value.


Your next project
Judge the image, not the preset.
Use a representative product shot to compare material response, highlights and edge quality. The work below is a craft reference; choosing a rendering tool does not establish the creative direction.
A route to consider
CGI stills and campaign visuals
Directed product stills with an agreed shot list, material references, environments and delivery formats.
Bring these three things.
- Which material is hardest to resolve?
- What reference are you matching?
- At what resolution will the image be judged?
Start with an outline. We review the product, intended outputs and timing before agreeing the production scope.