
XO3D Studio · Technical Guide
What is Look Development?
The process that determines whether a product render looks photographed or obviously generated, and why it happens before final rendering begins.
The studio behind this guide
The stage most of our work happens in
Look development is where XO3D does the bulk of its work as a director-led product CGI studio: materials built to real physical properties, and lighting built around the product to reveal them correctly. Where a client supplies a physical sample or swatch, the render is compared against it at look-development sign-off. Come to us when the material is effectively the product.
How XO3D compares to the other five supplier modelsLook Development (often shortened to Look Dev or LookDev) is the production phase in CGI in which materials, lighting, and environmental context are built and refined until they accurately represent the intended visual result, before any final high-resolution rendering begins. It is the process of making a 3D model look right, not just look like something. This guide covers look development for product CGI; in film and VFX the term is also a job title and covers characters, hair and environments, so it is used more broadly there.
At XO3D, Look Development is a dedicated production phase with its own client review stage. Material tests and lighting references are shared and approved before any final render farm time is committed. This is where the visual quality of a project is determined, and where the most important creative decisions are made. Before look development starts, the brief should settle the look itself: see choosing a render style.
On the Nanuskate ramp animation, Jack Robertson, the lead 3D artist on that project, built the composite surface from supplied images because no library material closely matched it. He varied the colour between panels after the first pass read as one uniform surface. The final ramp still and film show the result.
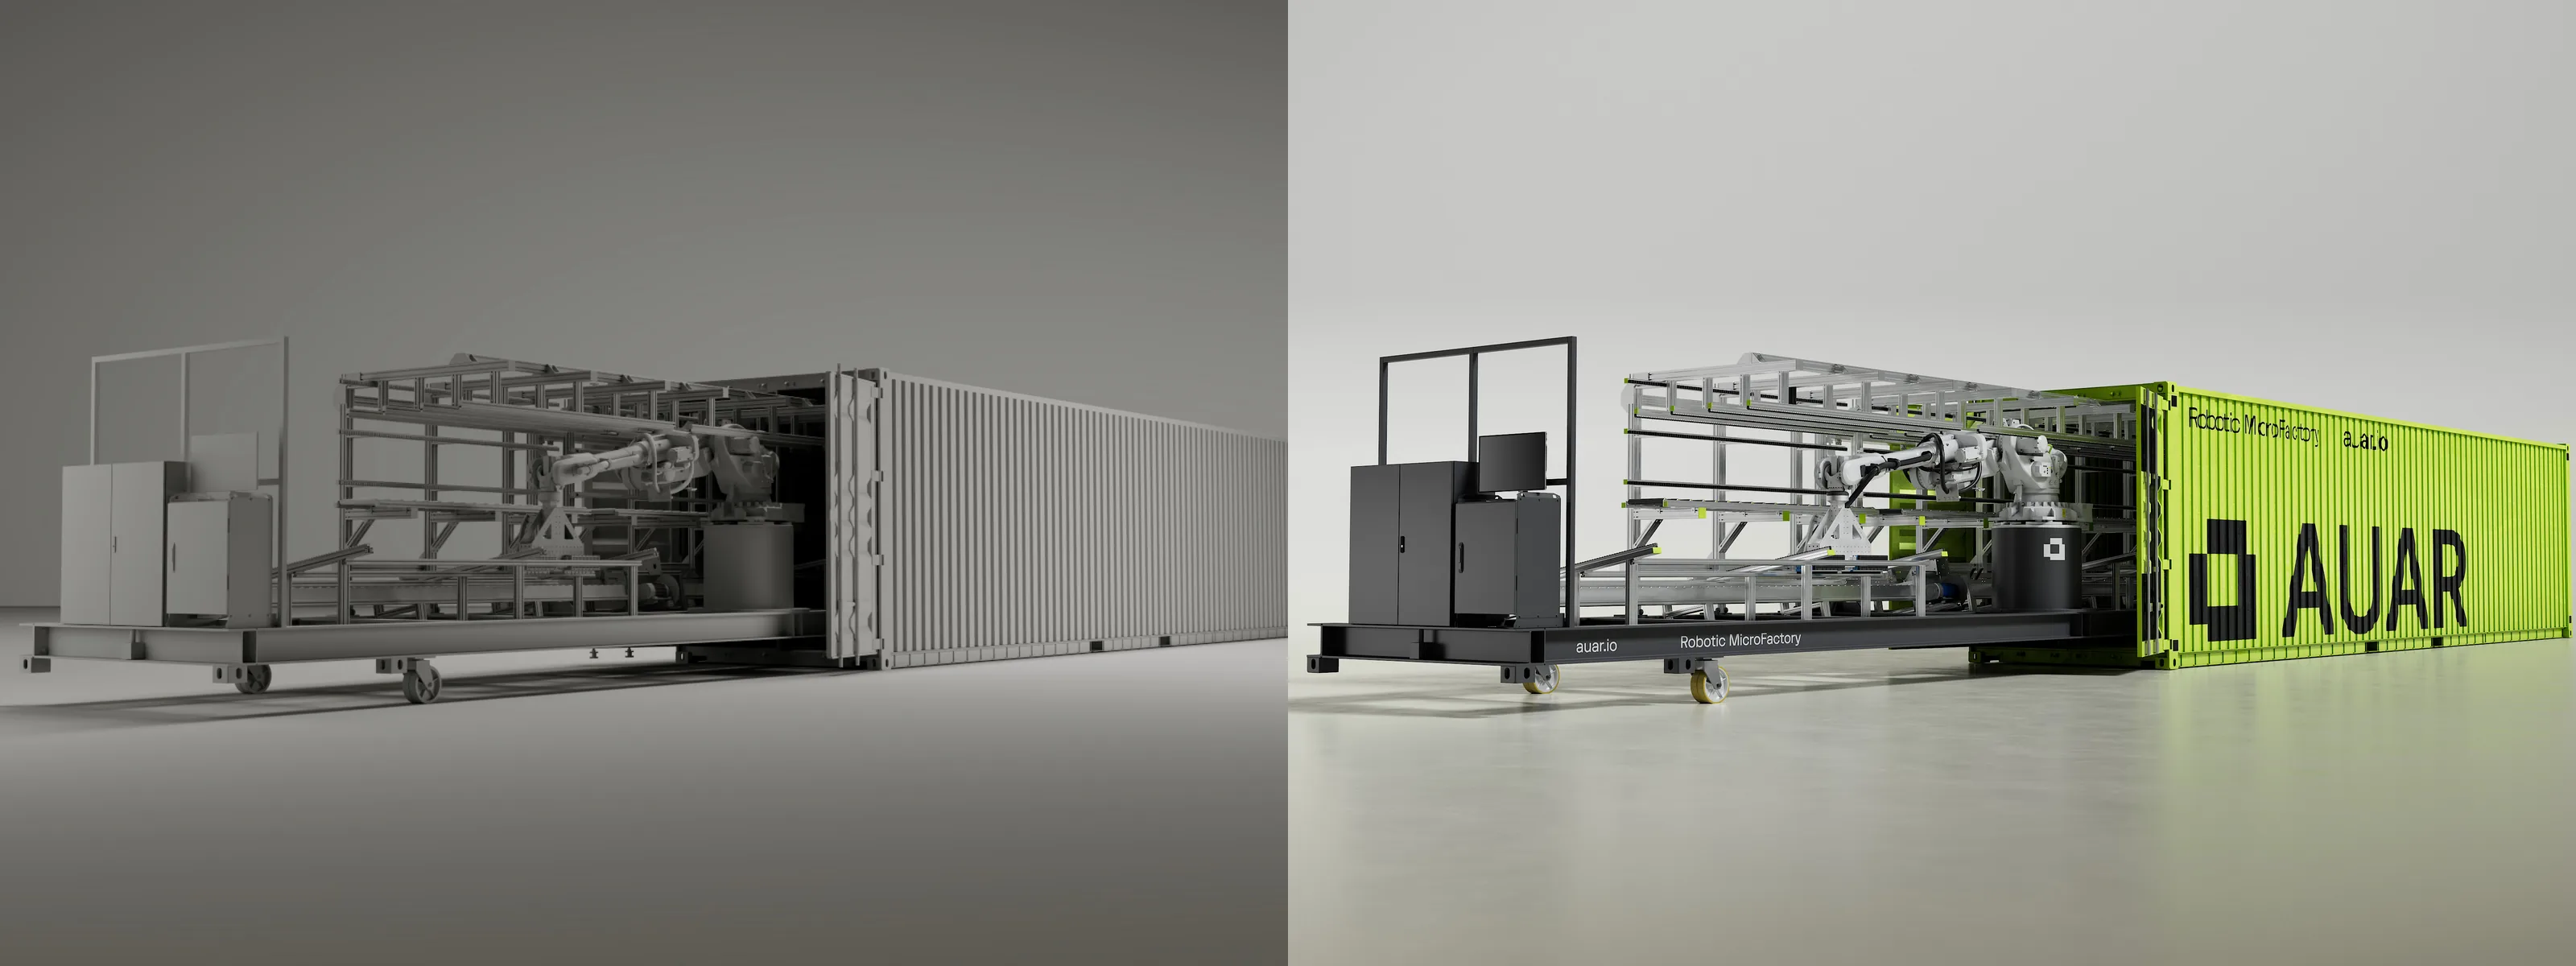
Same camera, three stages
From clay to final on one ramp.
The Nanuskate ramp from one camera and frame: the clay pass, the grey lit pass and the final render. The clay pass is an ID colour pass.


The native renders for these frames were smaller than shown, so they were upscaled with Topaz Gigapixel.
First pass and final
What changes between a first pass and a finished look.
Each pair is one camera and one frame. Drag the handle to compare.
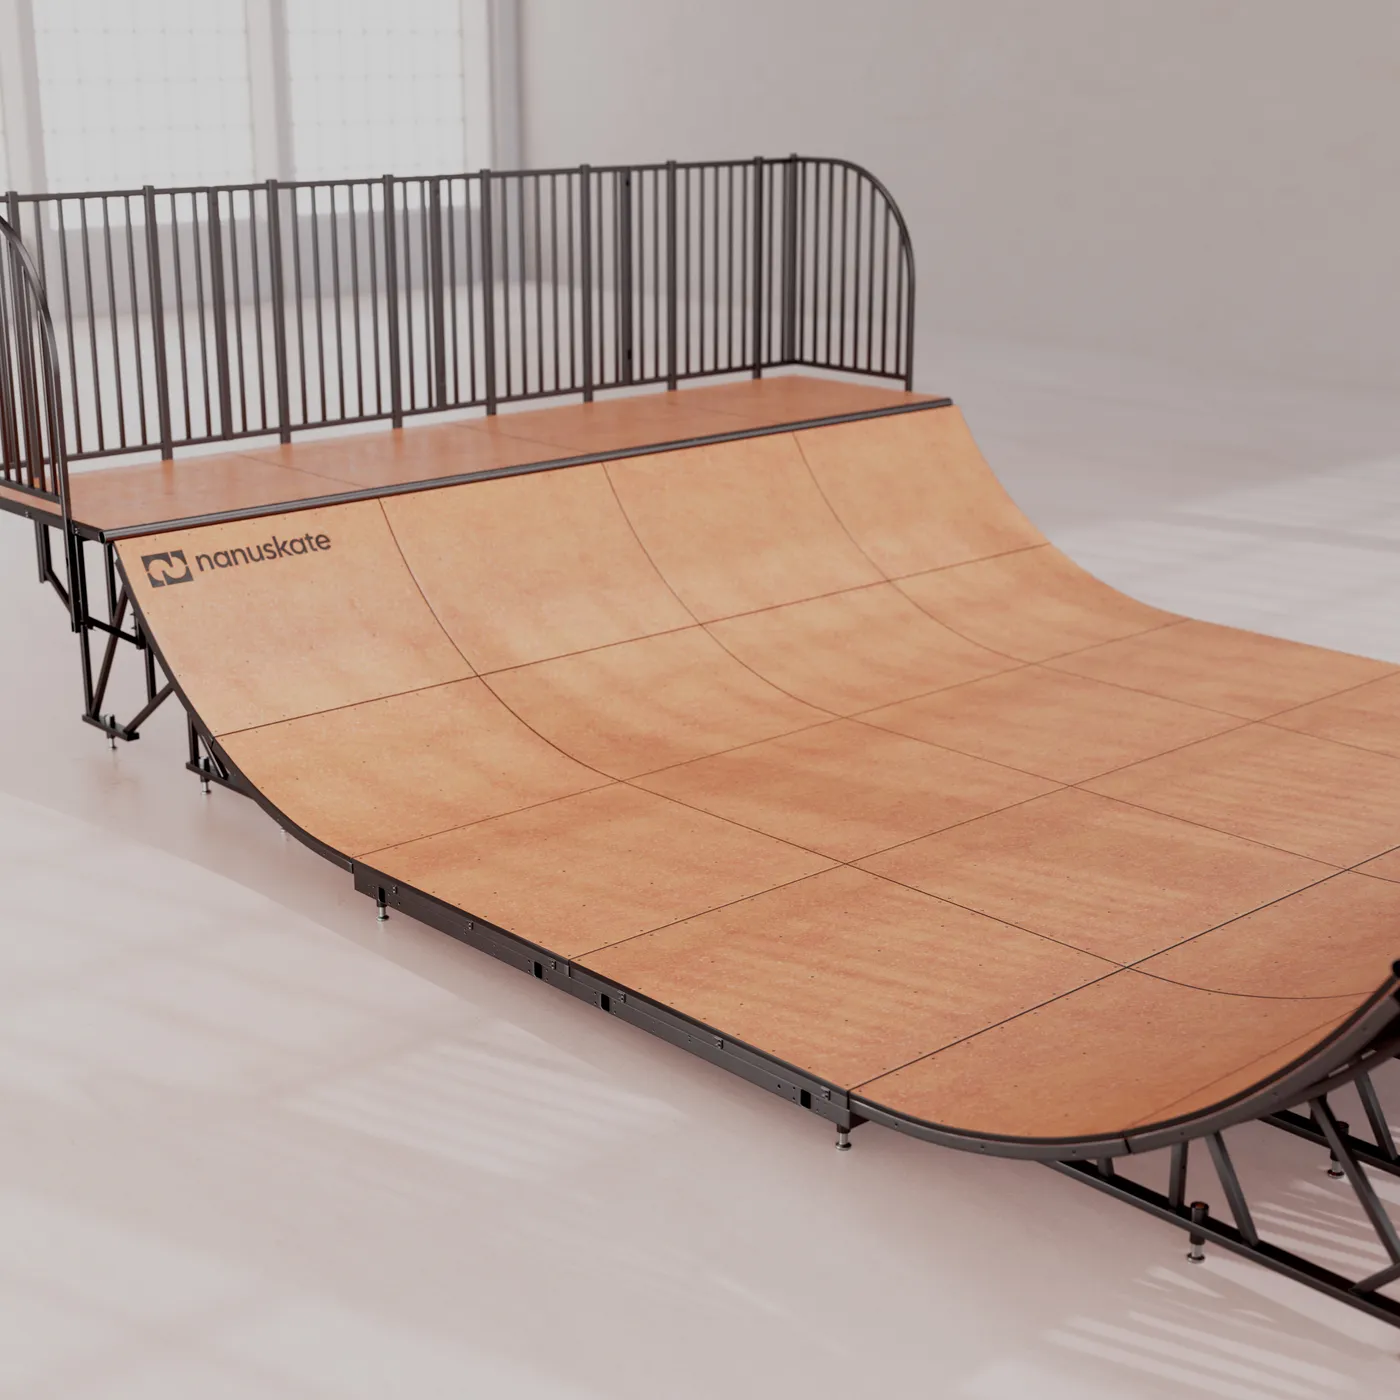
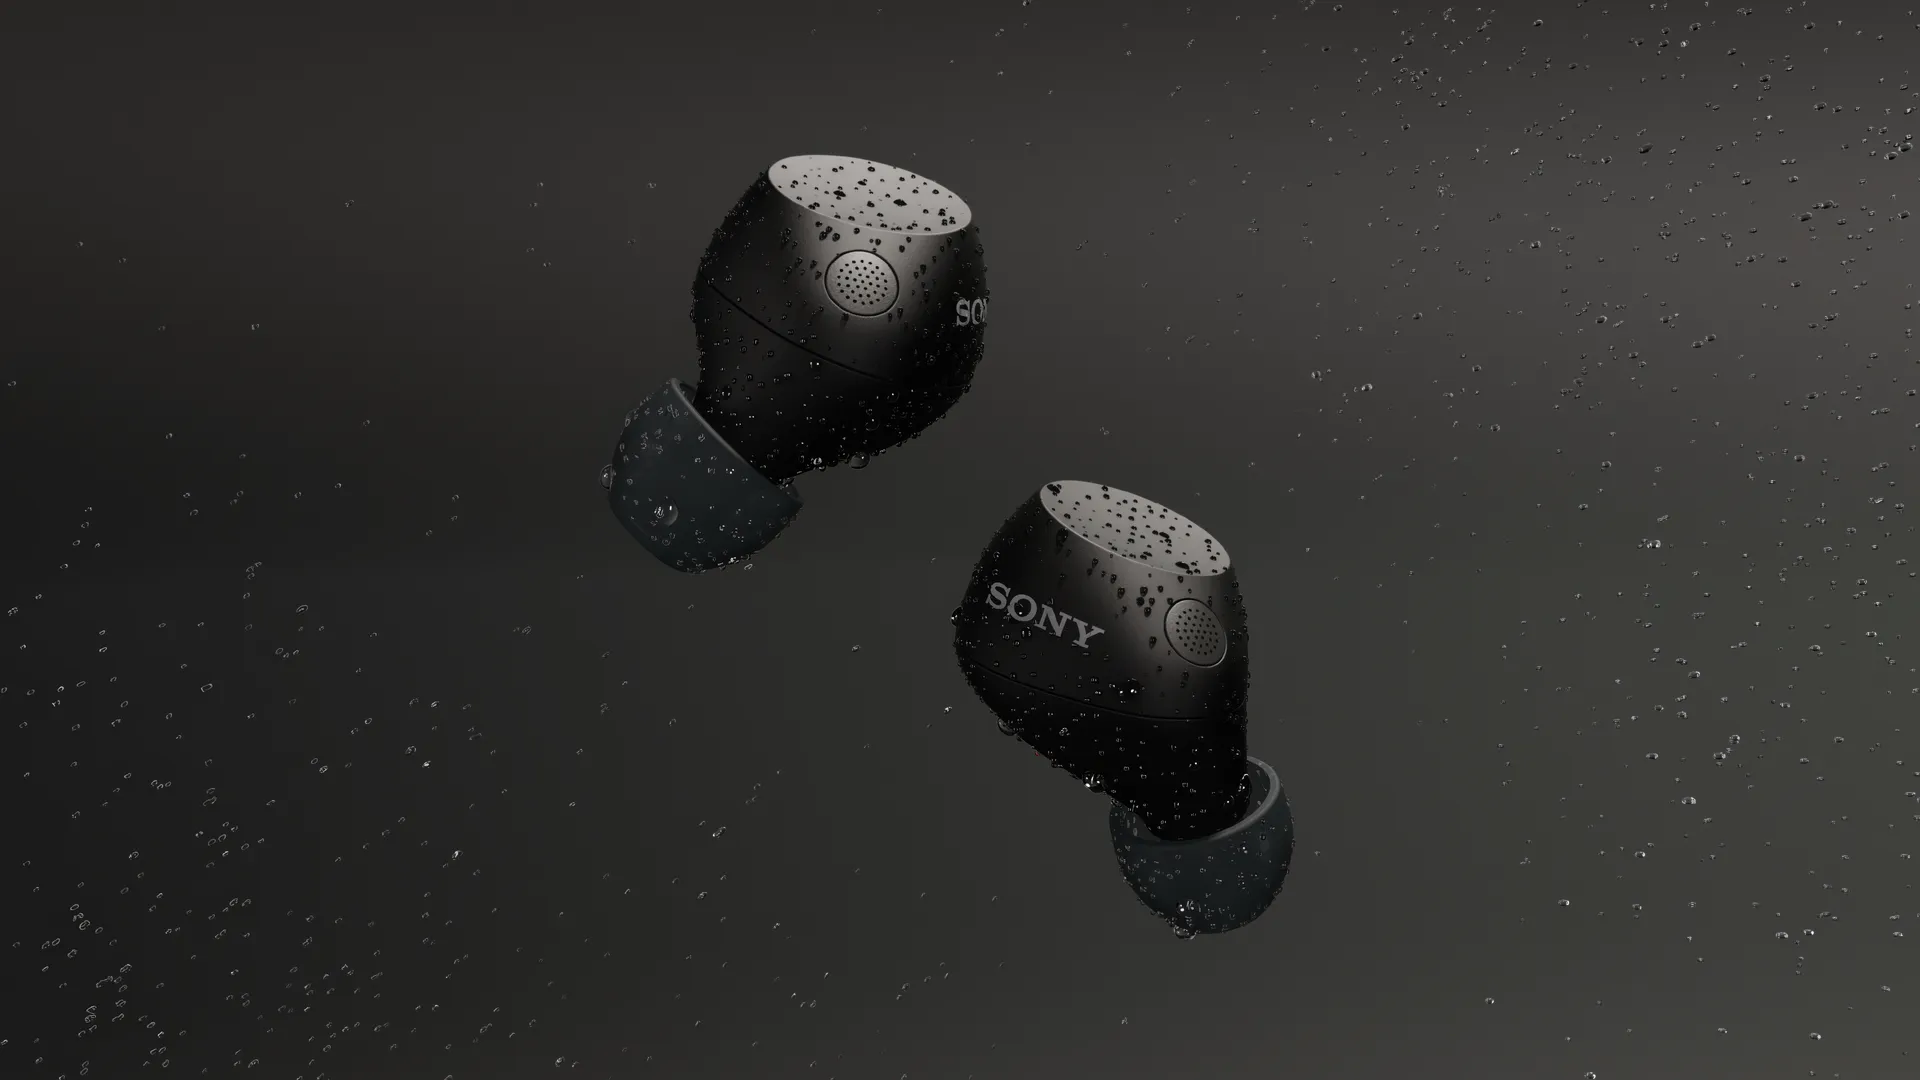
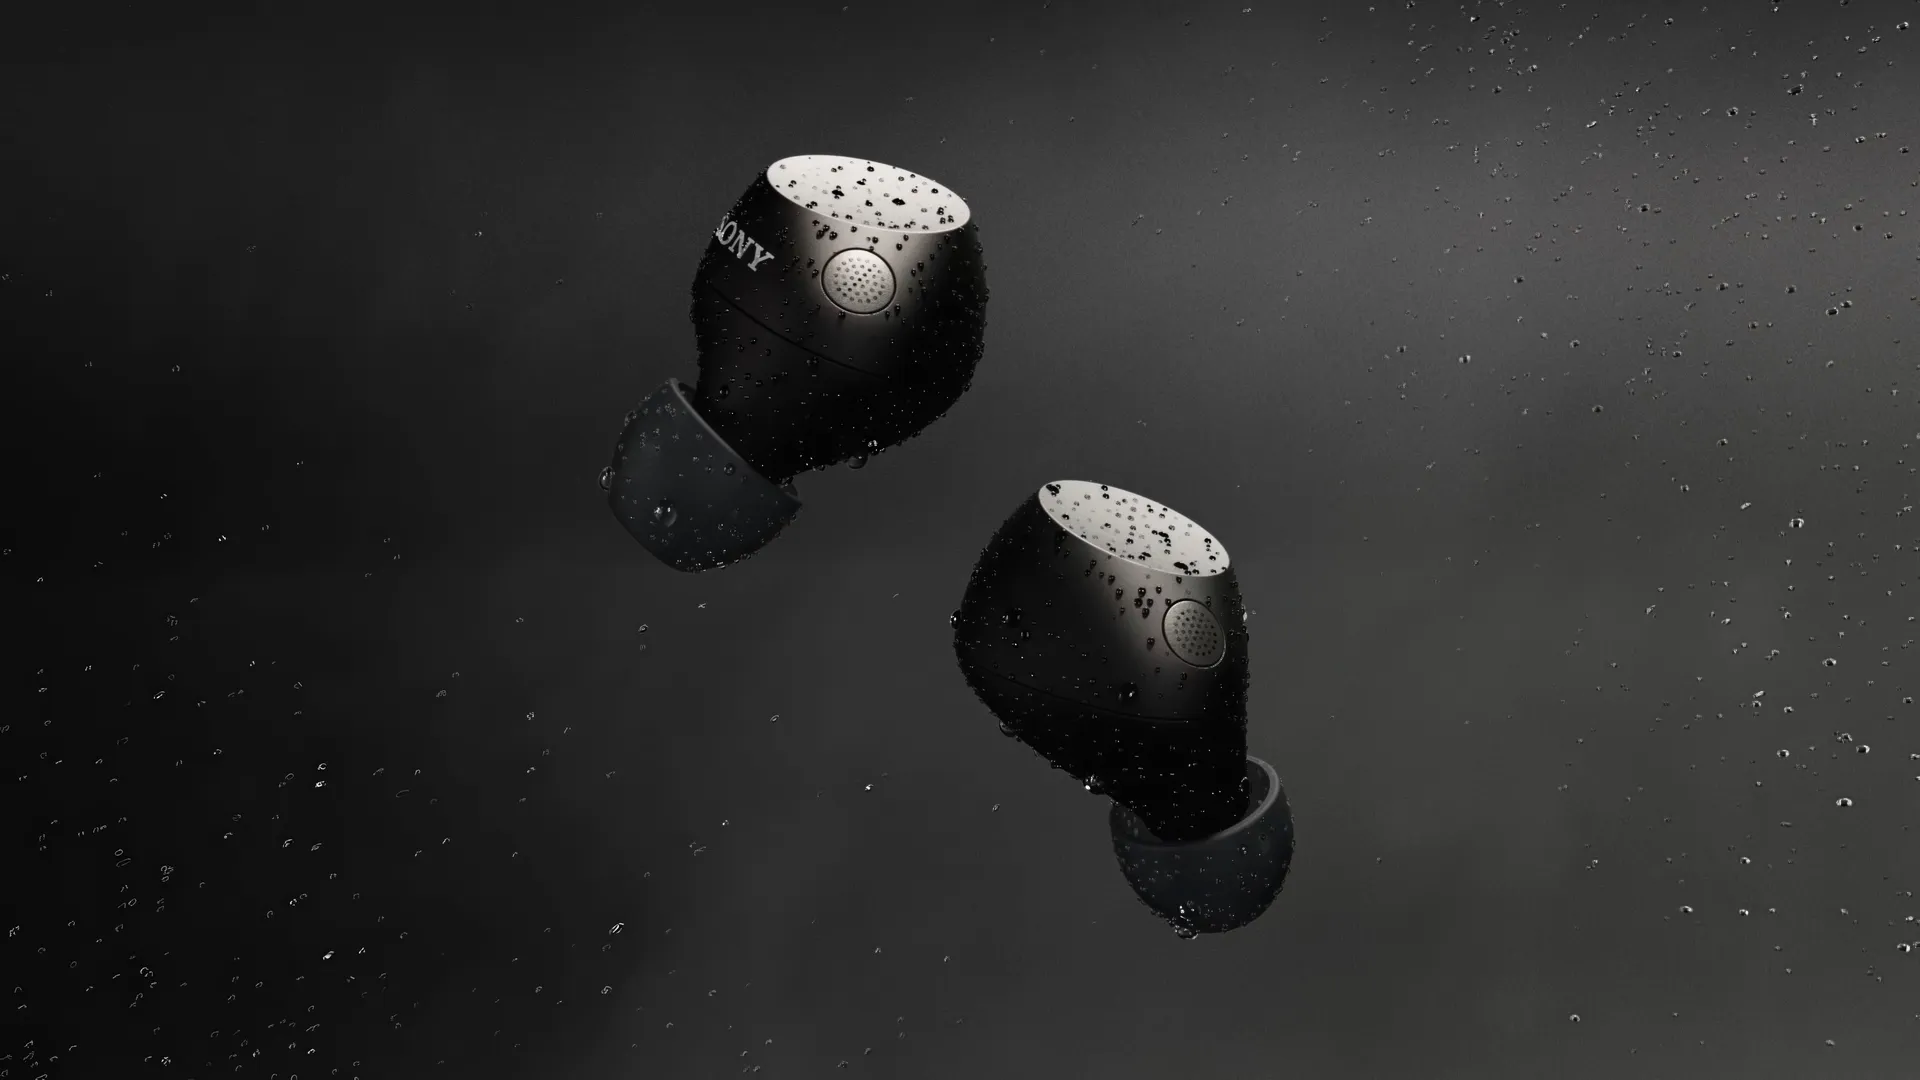
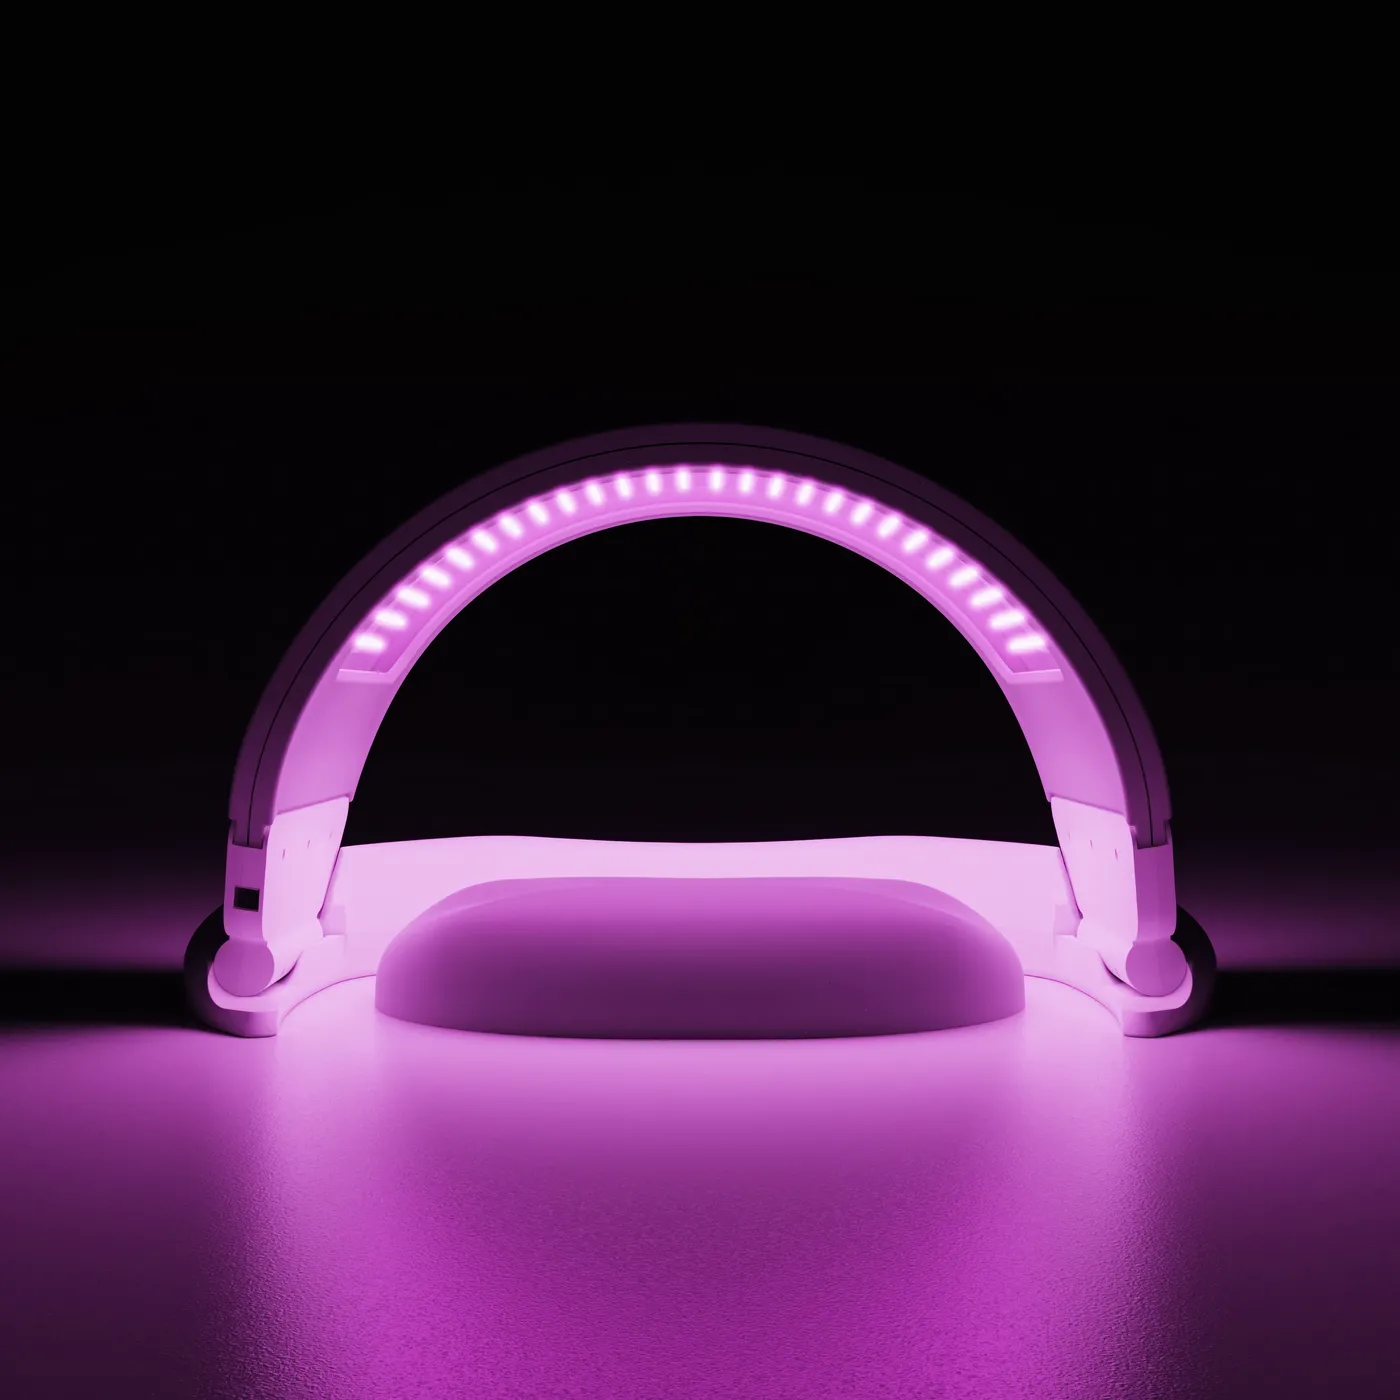
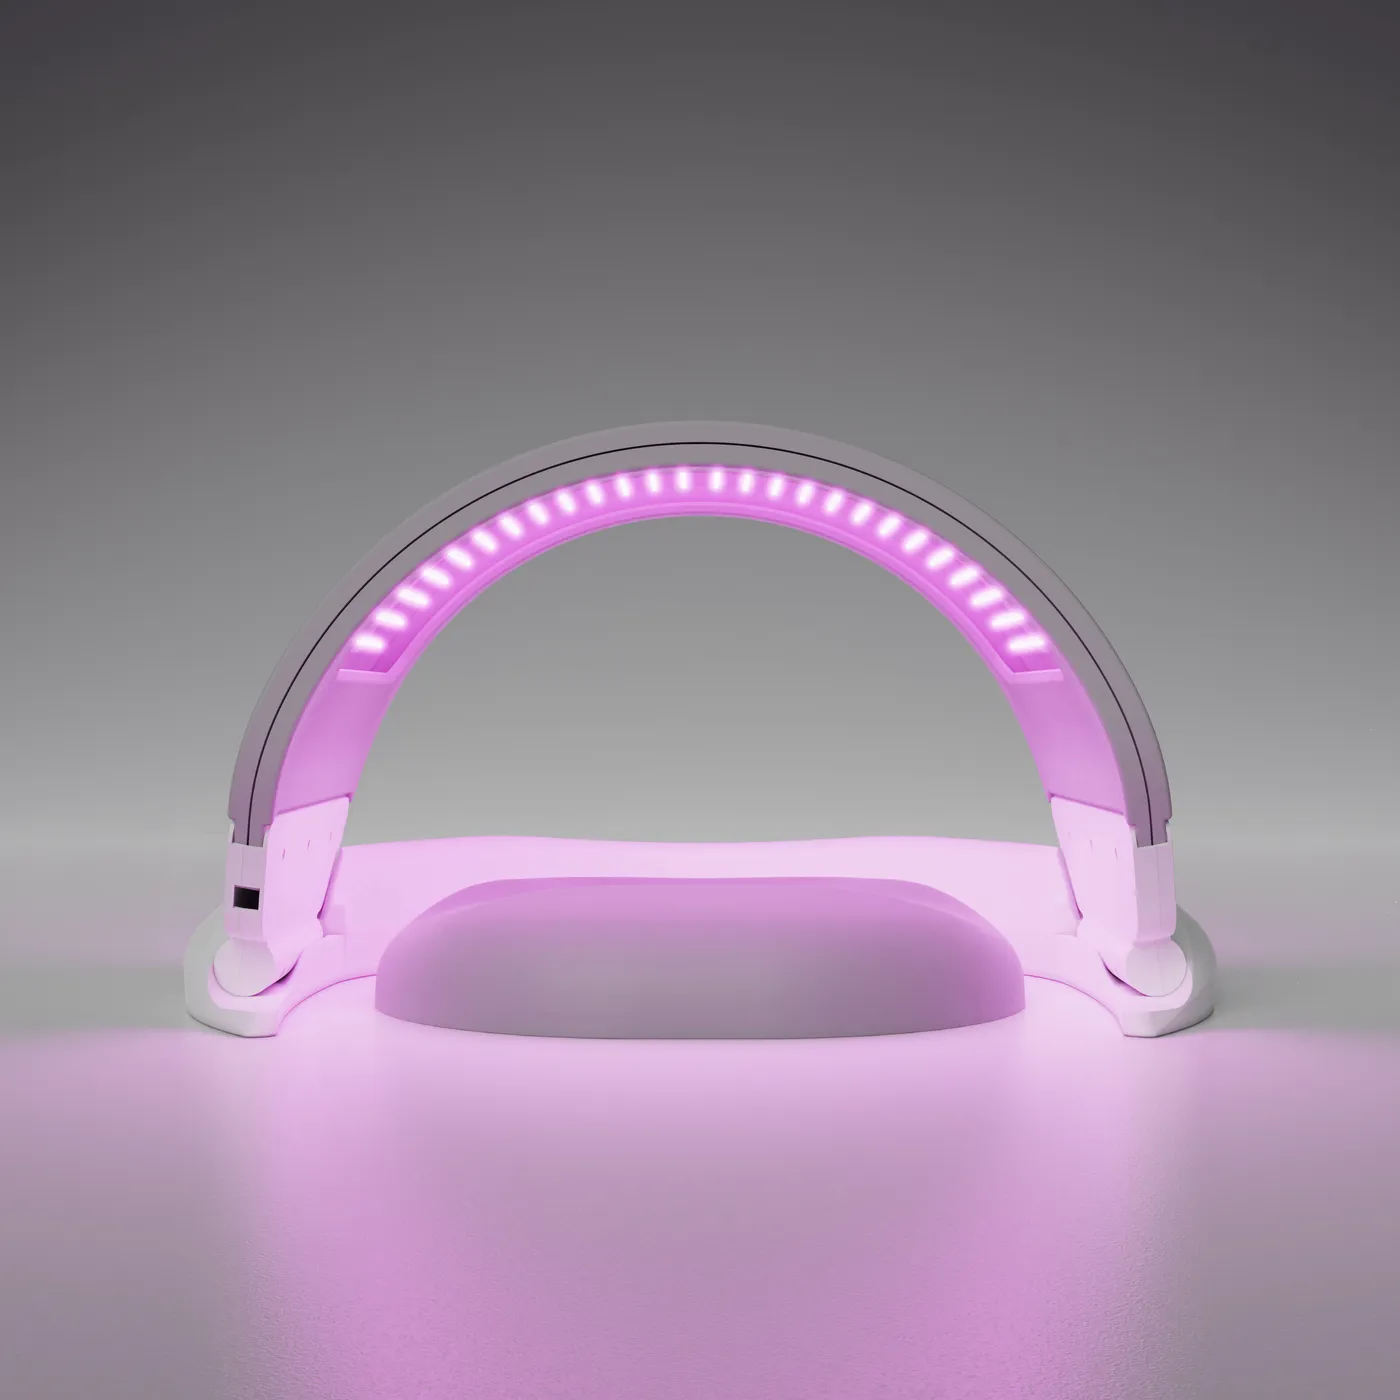
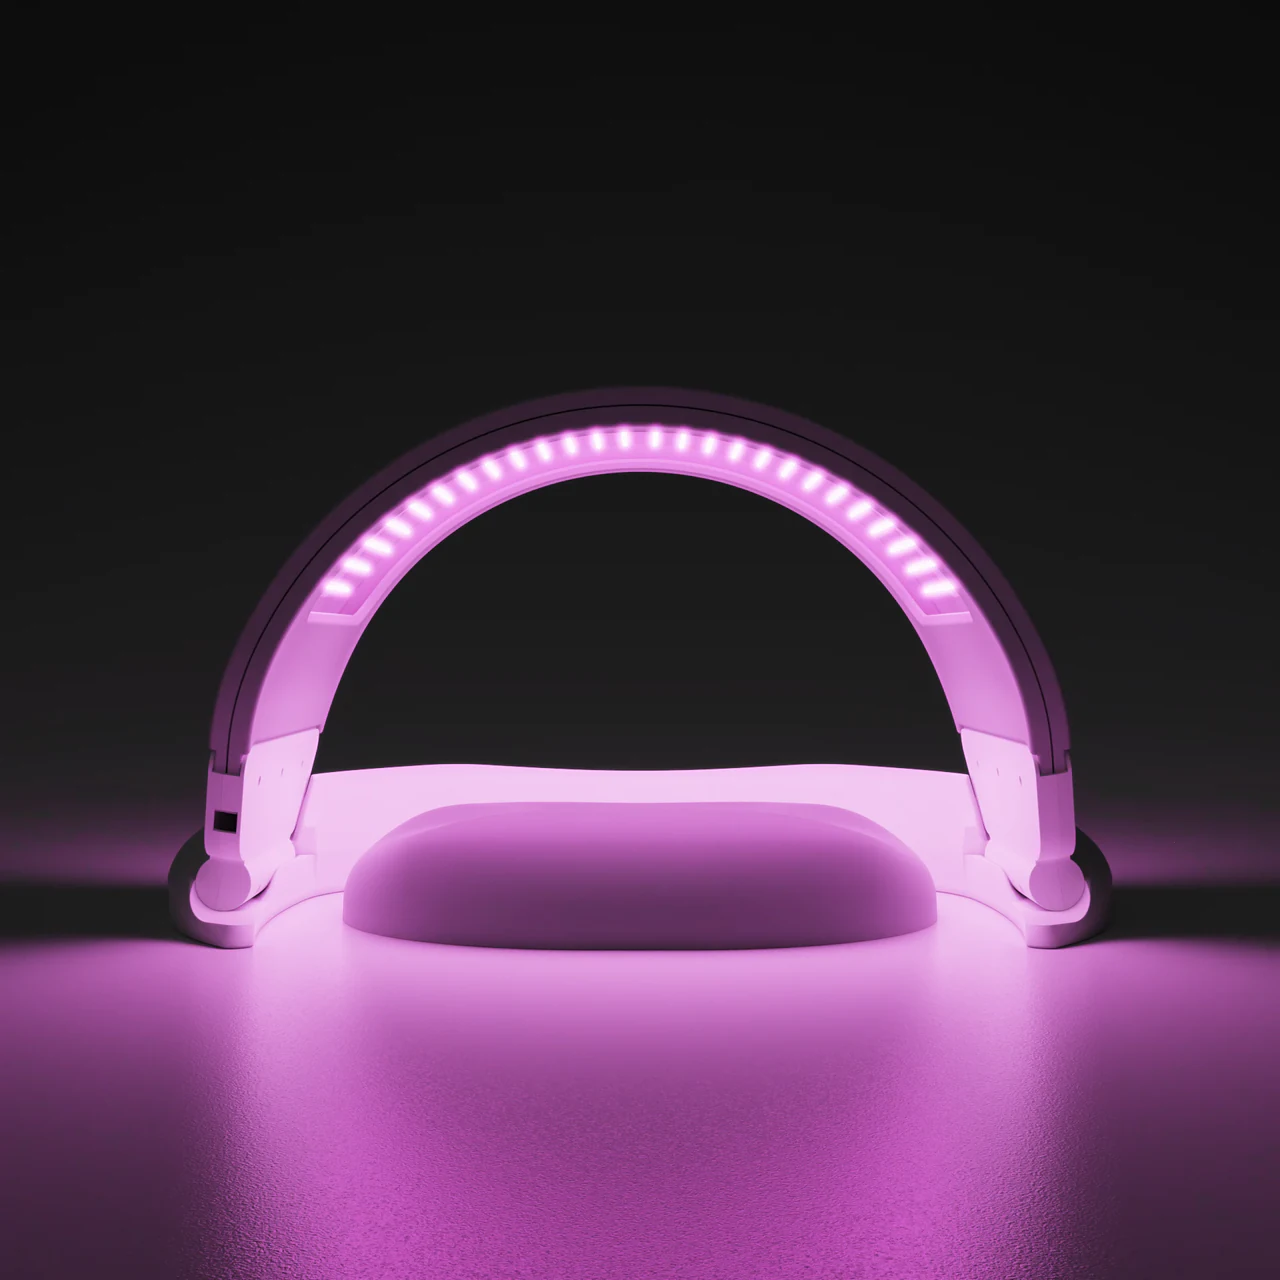
The Sony and Dermalux frames were rendered smaller than shown and upscaled with Topaz Gigapixel.
What look dev involves
The three components of look development.
Material Development
Building surfaces from product reference
Materials are developed from the available product photographs, finish specifications and physical samples where supplied. Roughness, metallic response, transmission and surface detail are adjusted against that reference. A suitable library material can provide a starting point; a finish without a close match needs a new material.
Lighting Development
A rig built for this product
Lighting is chosen and adjusted to reveal this product under the conditions the brief describes. A library HDRI or environment can be a starting point, but it is checked against the reference and changed where the product needs it: highlight placement that makes a brushed surface read as brushed, fill light that prevents shadow areas from going flat.
Environment Development
Context that serves the product
The environment, whether studio, lifestyle, industrial, or abstract, is chosen and built to support the product's visual language. Even a "simple studio background" requires precise decisions about light source position, reflection colour, and shadow softness.
The review
What a look-development review decides.
A look-development review is a set of decisions about one frame, made against named references. The table shows what is compared, what has to be decided and what the frame cannot prove. Record which product revision the frame shows, and judge it at the camera distance and output size it will be used at.
| Area | Reference to compare | Decision needed | What the frame cannot establish |
|---|---|---|---|
| Material appearance | Physical sample, finish specification or supplied photographs | Does colour, gloss and texture read as the intended finish? | An exact physical match when no sample was supplied |
| Lighting and reflections | The lighting brief and reference images | Do highlights describe the form and the finish without hiding detail? | How the real product looks under every other light |
| Context | Brand guidance and the intended placement | Does the setting support the product and its use? | How the image performs in its channel |
| Product detail | The approved CAD revision, logos and labels | Are edges, logos, labels and small parts correct for this revision? | Engineering accuracy beyond what the frame shows |
| Unresolved assumptions | Open questions in the brief | Which parts are provisional, and who will confirm them? | Final approval of anything still marked provisional |
With no physical sample, a finish can still be approved against supplied references; the approval then says that, rather than claiming a sample match. For the checks a reviewer makes, see how to review CGI, and for keeping the product right across outputs, product truth.
In the pipeline
Look development, the animatic and the final render.
Each review answers a different question with a different artefact. The order below is the typical dependency, not a rigid rule: a camera change in the animatic can send a shot back to look development, and a source change can send it back to the model.
| Stage | Question it answers | What you review |
|---|---|---|
| Model review | Is the product geometry right for this revision? | Grey or clay renders of the model, checked against the CAD and drawings |
| Look development | Do the materials, lighting and context look right? | Lit test frames of the actual product |
| Animatic | Do the timing, camera and action work? | A rough moving edit, usually in grey |
| Final output | Is the finished frame or film ready for delivery? | Full-resolution renders and the graded edit |
Before modelling, check the source with CAD to CGI. For timing decisions, read what a 3D animatic is. A Master Asset Build includes signed-off look development and a full-resolution test frame on the actual product, and product CGI films carry an approved look into motion.
Before the design is final
Early look development before the product is final.
Look development can start before every detail of the product is settled, as long as the test is honest about what it shows. An early test frame should state the question it is meant to answer, such as which finish family suits the brand or how a colour reads beside the logo, and which parts of the geometry and finish are still provisional.
Some decisions cannot be final at this stage. A finish cannot be approved as the product finish while the material specification is still open, and a frame made from a concept model does not confirm engineering accuracy. Label provisional frames clearly, record the product revision they show, and repeat the review when the source is updated.
A range of finishes
Reviewing a colourway range side by side.
For a range, the review compares finishes under controlled conditions. On the Glen Dimplex range cooker library, XO3D built one source model per product, locked the lighting rig once and rendered every colourway and angle the same way, so the eleven finishes read as one product family.
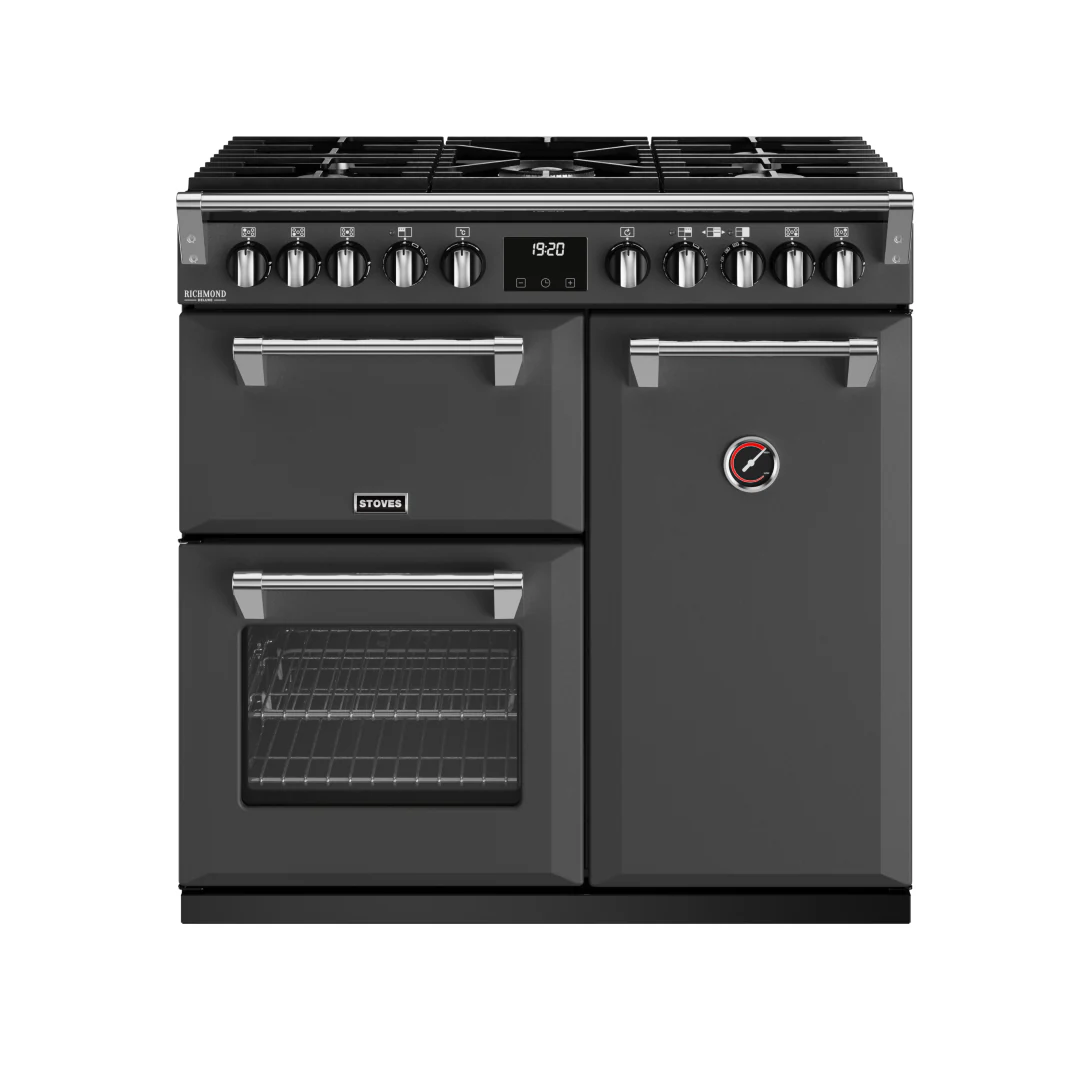

A locked rig on one project is not a rule for every range. As Jack Robertson notes below, a light that suits a dark finish can overexpose a lighter one, so a rig may need a controlled adjustment per colourway. Consistency means the agreed appearance holds across the set, with any change recorded rather than hidden.
Reader checklist
A blank record for each look-development frame.
This is a proposed reader aid for your own reviews, not a description of a standard XO3D delivery pack. Fill in one row per frame.
| Field | What to record |
|---|---|
| Frame purpose | The decision this frame is for |
| Source and reference | The CAD revision, and the sample, specification or photographs compared |
| Product revision | Which version of the product the frame shows |
| Pending detail | Anything provisional, and who will confirm it |
| Decision | Approved, approved with changes, or not approved, with the reviewer's name and date |
For artists building the materials themselves, the XO3D Labs PBR material checklist is a separate artist aid.
Surfaces in close-up
How the materials hold up close.
Macro crops from final renders: a brushed steel plate, matte plastic and water droplets.


FAQ
Common questions, answered.
What is physically based rendering (PBR)?
Does PBR require the physical product to exist?
When does look development happen in a CGI project?
How long does look development take?
Do you need a physical sample to develop a CGI material?
Does look development mean the same thing in film and VFX?
Can look development start before the product design is final?
What is the difference between look development and an animatic?

Past production insight from
Jack Robertson
Former Mid-Level Artist, XO3D
A believable material does not have to be perfectly uniform
In a product material study, Jack found that the first composite surface looked too uniform. He introduced slight colour differences between panels, using photographs of the product and comparable finishes as reference. There was no physical sample, so this was a reference-led visual judgement, not a claim of sample matching.
The useful review question is whether the variation belongs to the material. Check the size of the surface detail, the difference between neighbouring panels and how both read under the intended lighting. More noise is not automatically more realistic.
Keep colour, surface detail and finish controls separate where they need different adjustments. Jack used masks to isolate these properties rather than forcing every material decision into one diffuse map. Compare the result with the product reference and finish specification before approving the look.
For a range of finishes, Jack checked the lighting across the variants and compares the resulting stills side by side. A light that reads well on a dark surface may overexpose a lighter one. The rig can need a controlled adjustment for each colourway; consistency means checking how the product reads, rather than assuming identical settings will suit every finish.
From a production discussion while Jack worked at XO3D, edited for clarity. XO3D's named expert on this subject is Thomas Howcroft, Founder and Creative Director.
Past production insight from
Jack Robertson
Former Mid-Level Artist, XO3D
Materials are built on the product, not on a shader ball
Jack did not develop XO3D materials on a shader ball. "The geometry is never going to be a ball, so it doesn't make sense to do that." Materials are built on the product's own geometry, because the team needs to see how the lights affect it, which edges will read differently and every specific part of the shape that a ball does not have.
The realism comes from the close-up detail. Zoom in on the edge of a weak render and the surface is perfectly smooth and consistent. On a real product there may be slight undulation, a change in the bump, paint that is very slightly scratched, an edge that catches the light as the product moves. Jack added that back deliberately: edge detail, small surface imperfections, dust and fibres.
From a production discussion while Jack worked at XO3D, edited for clarity. XO3D's named expert on this subject is Thomas Howcroft, Founder and Creative Director.
Your next project
Agree how the product should feel.
Select representative frames that test the difficult material and lighting decisions. Review those frames against real references before extending the treatment across a complete film.
A route to consider
Product CGI Films
A product film developed through creative treatment, storyboard, animatic, product review and final picture and sound.
Bring these three things.
- Which materials define the product?
- What references show the intended finish?
- Which frame best tests the treatment?
Start with an outline. We review the product, intended outputs and timing before agreeing the production scope.